When I dream up a new greening project for the home, I typically don't just do it right away. As impulsive as I may seem when it comes to houseplants, I really think through what the right project would be for the space. Sometimes I'll sit in my hammock or a chair and stare at the space for minutes on end, imagining what the proposed project would look like. This process can take minutes, hours, weeks, or even in the case of my vertical garden—years.
I personally love when plants are thoughtfully "integrated" into one's living or work space. It gives me a sense that the owner not only considered the plant's environment but also the environment that the plant sits in. When this happens, the verdure looks both neat and calculated yet quite natural and organic.
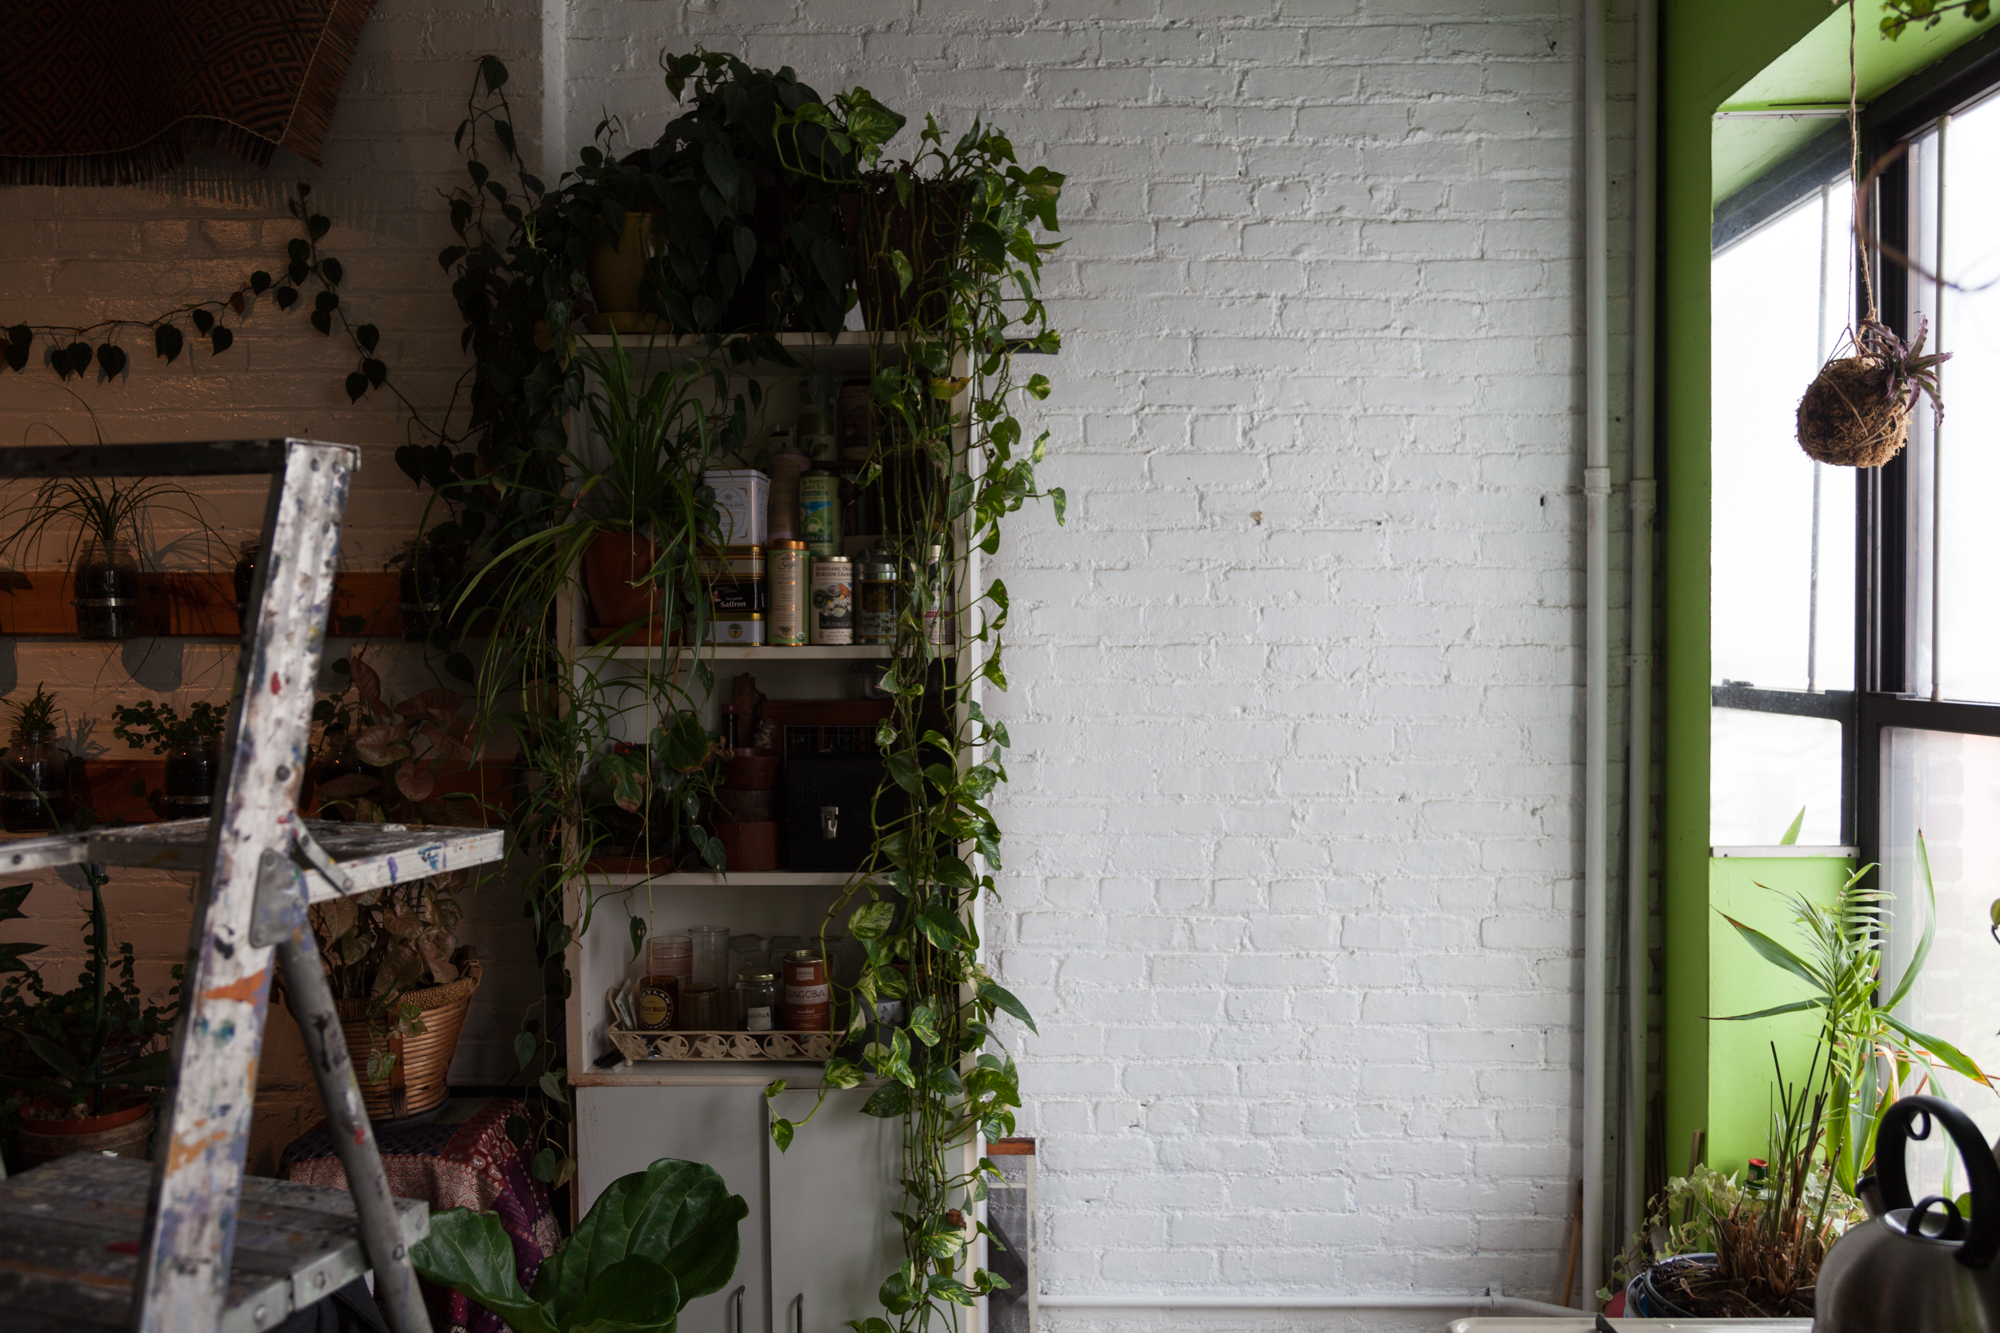
It's tempting to want to huddle all your plants into one corner of the house, right up against one's window, but this, at least to me, has the potential to look disorderly and cluttered. It can add but also take away from the space.
This was one of the last corners of my home that was quite barren and was a perfect opportunity for a new DIY plant project.
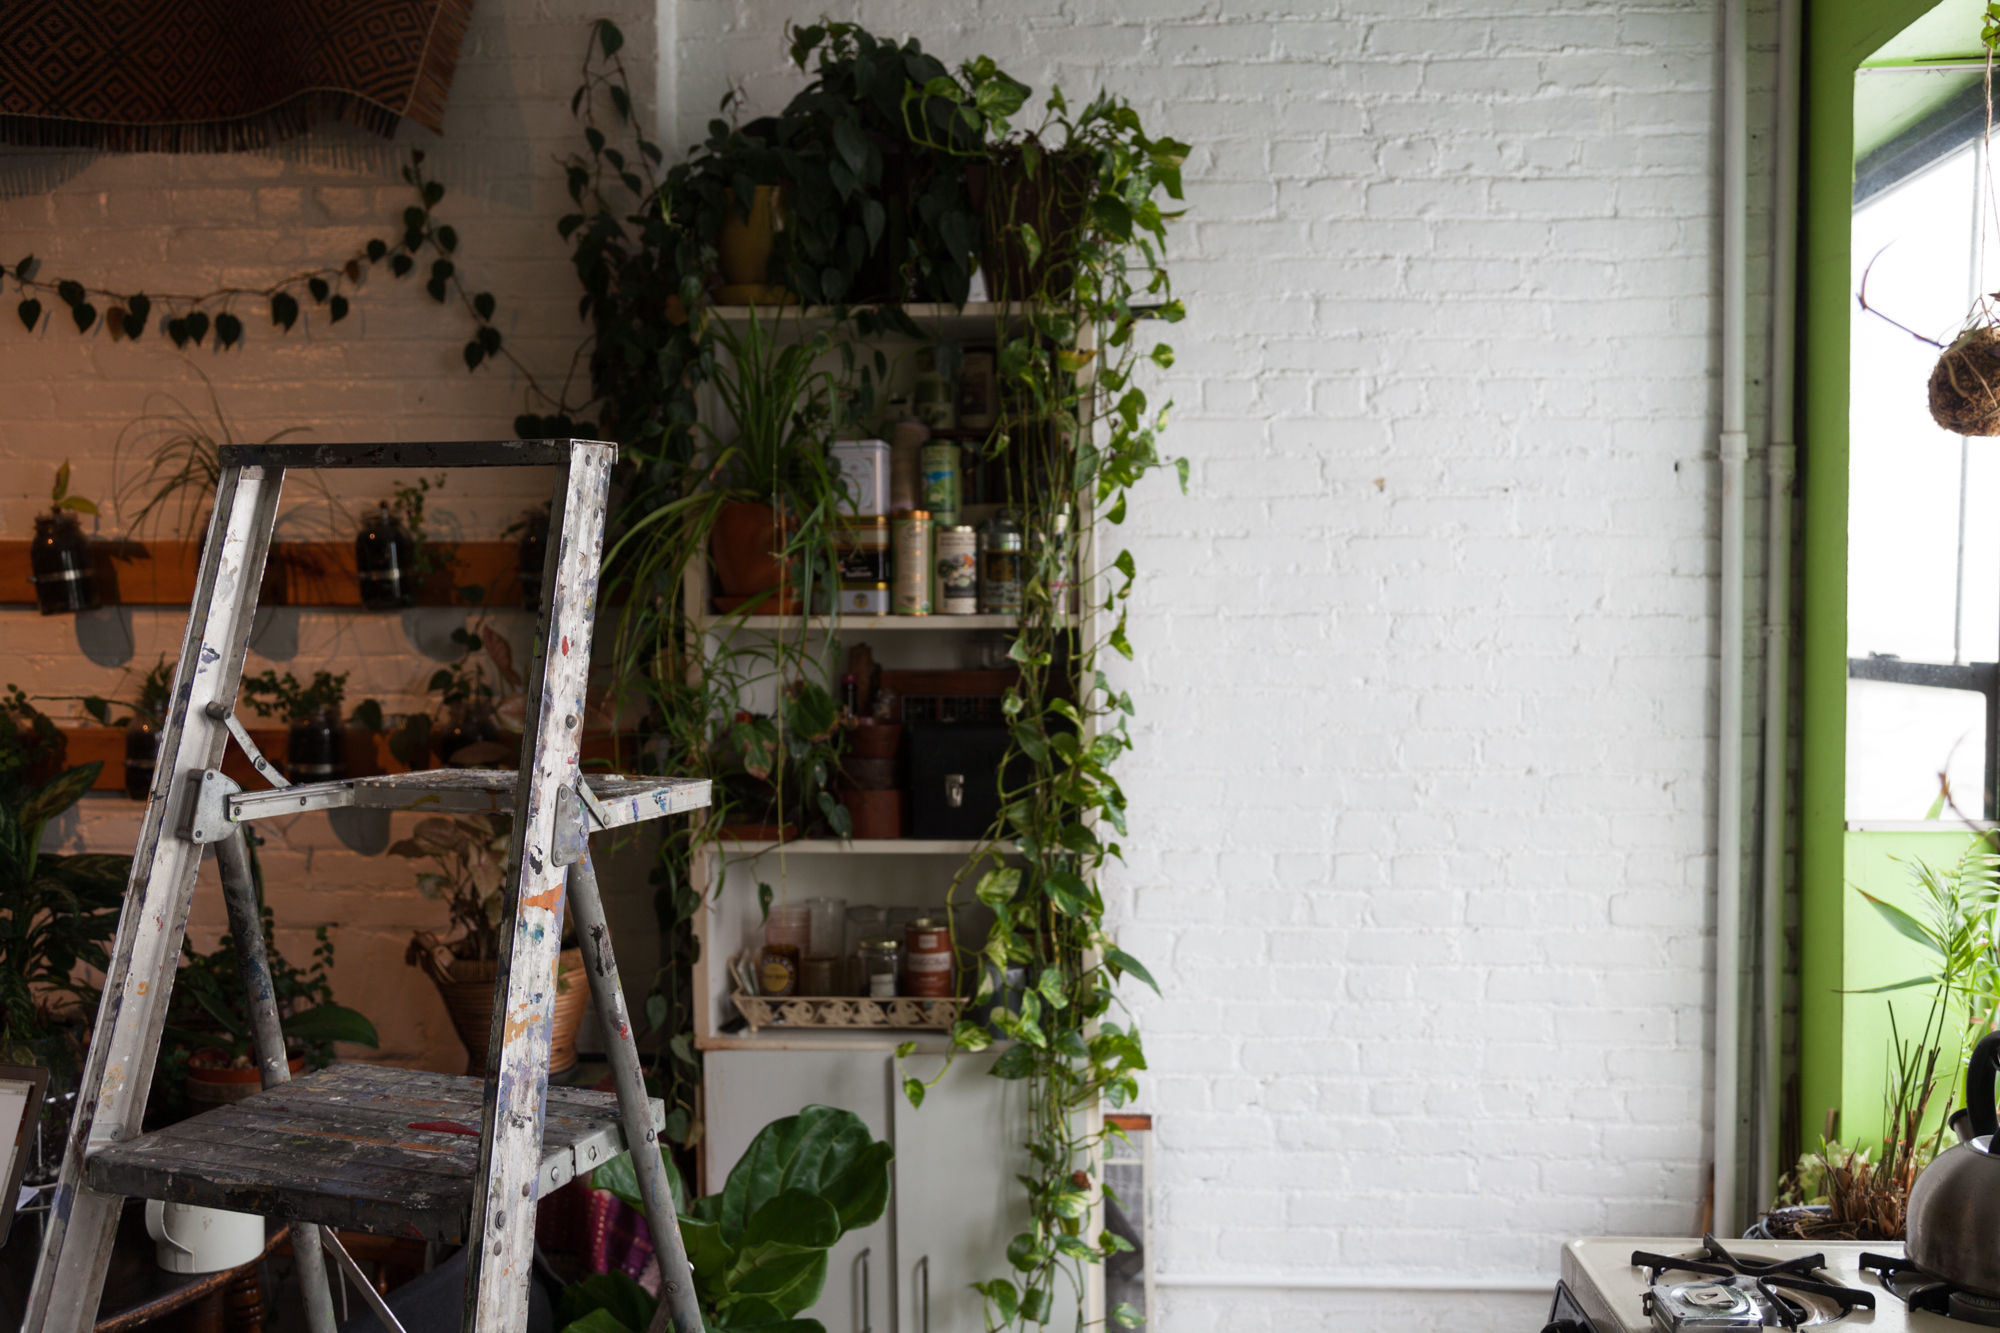
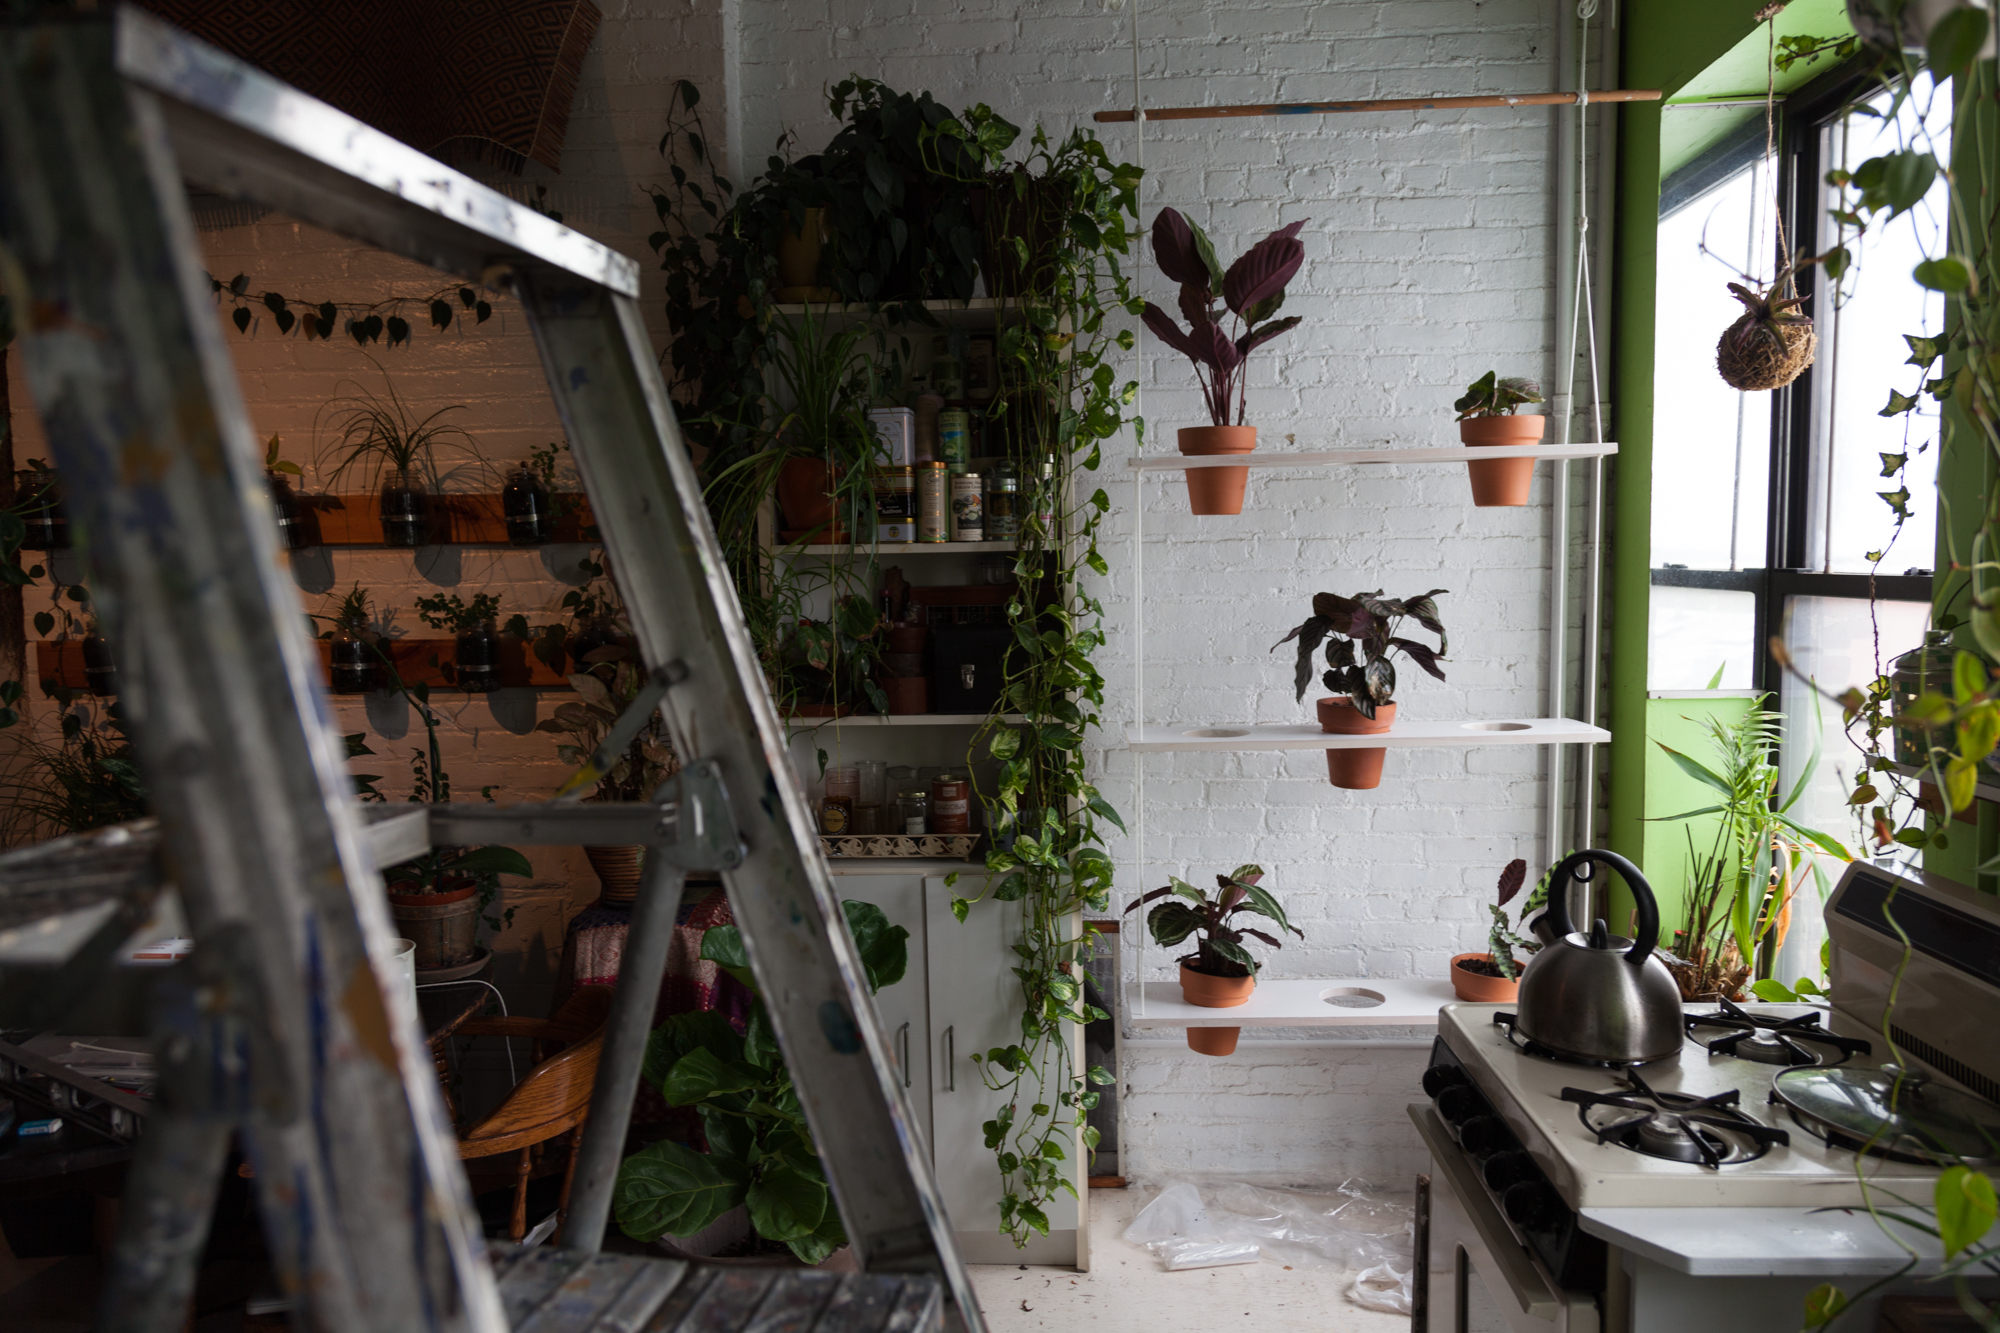
This corner of my kitchen right of my tea cabinet, (which gets beautiful light from a north-facing window), was the last large naturally-lit corner of my house that wasn't yet dominated by verdant life. It was tempting to want to put another vertical garden on the wall, but unlike the one in my bedroom, this wall, which comprises of old brick, wouldn't have held up to the weight. Additionally, I love the look of exposed brick, and thought it would be a shame to cover it up.
Instead, I opted for a creation that would allow for both plants and brick. I also wanted to primarily use found materials. When I first moved into this space twelve years ago now, there had been an old broom handle—splattered with white and blue paint—that sat right in that very corner of the kitchen. That, with the space, and some recovered wood from a set design shop nearby, became inspiration for a vertical swing garden.
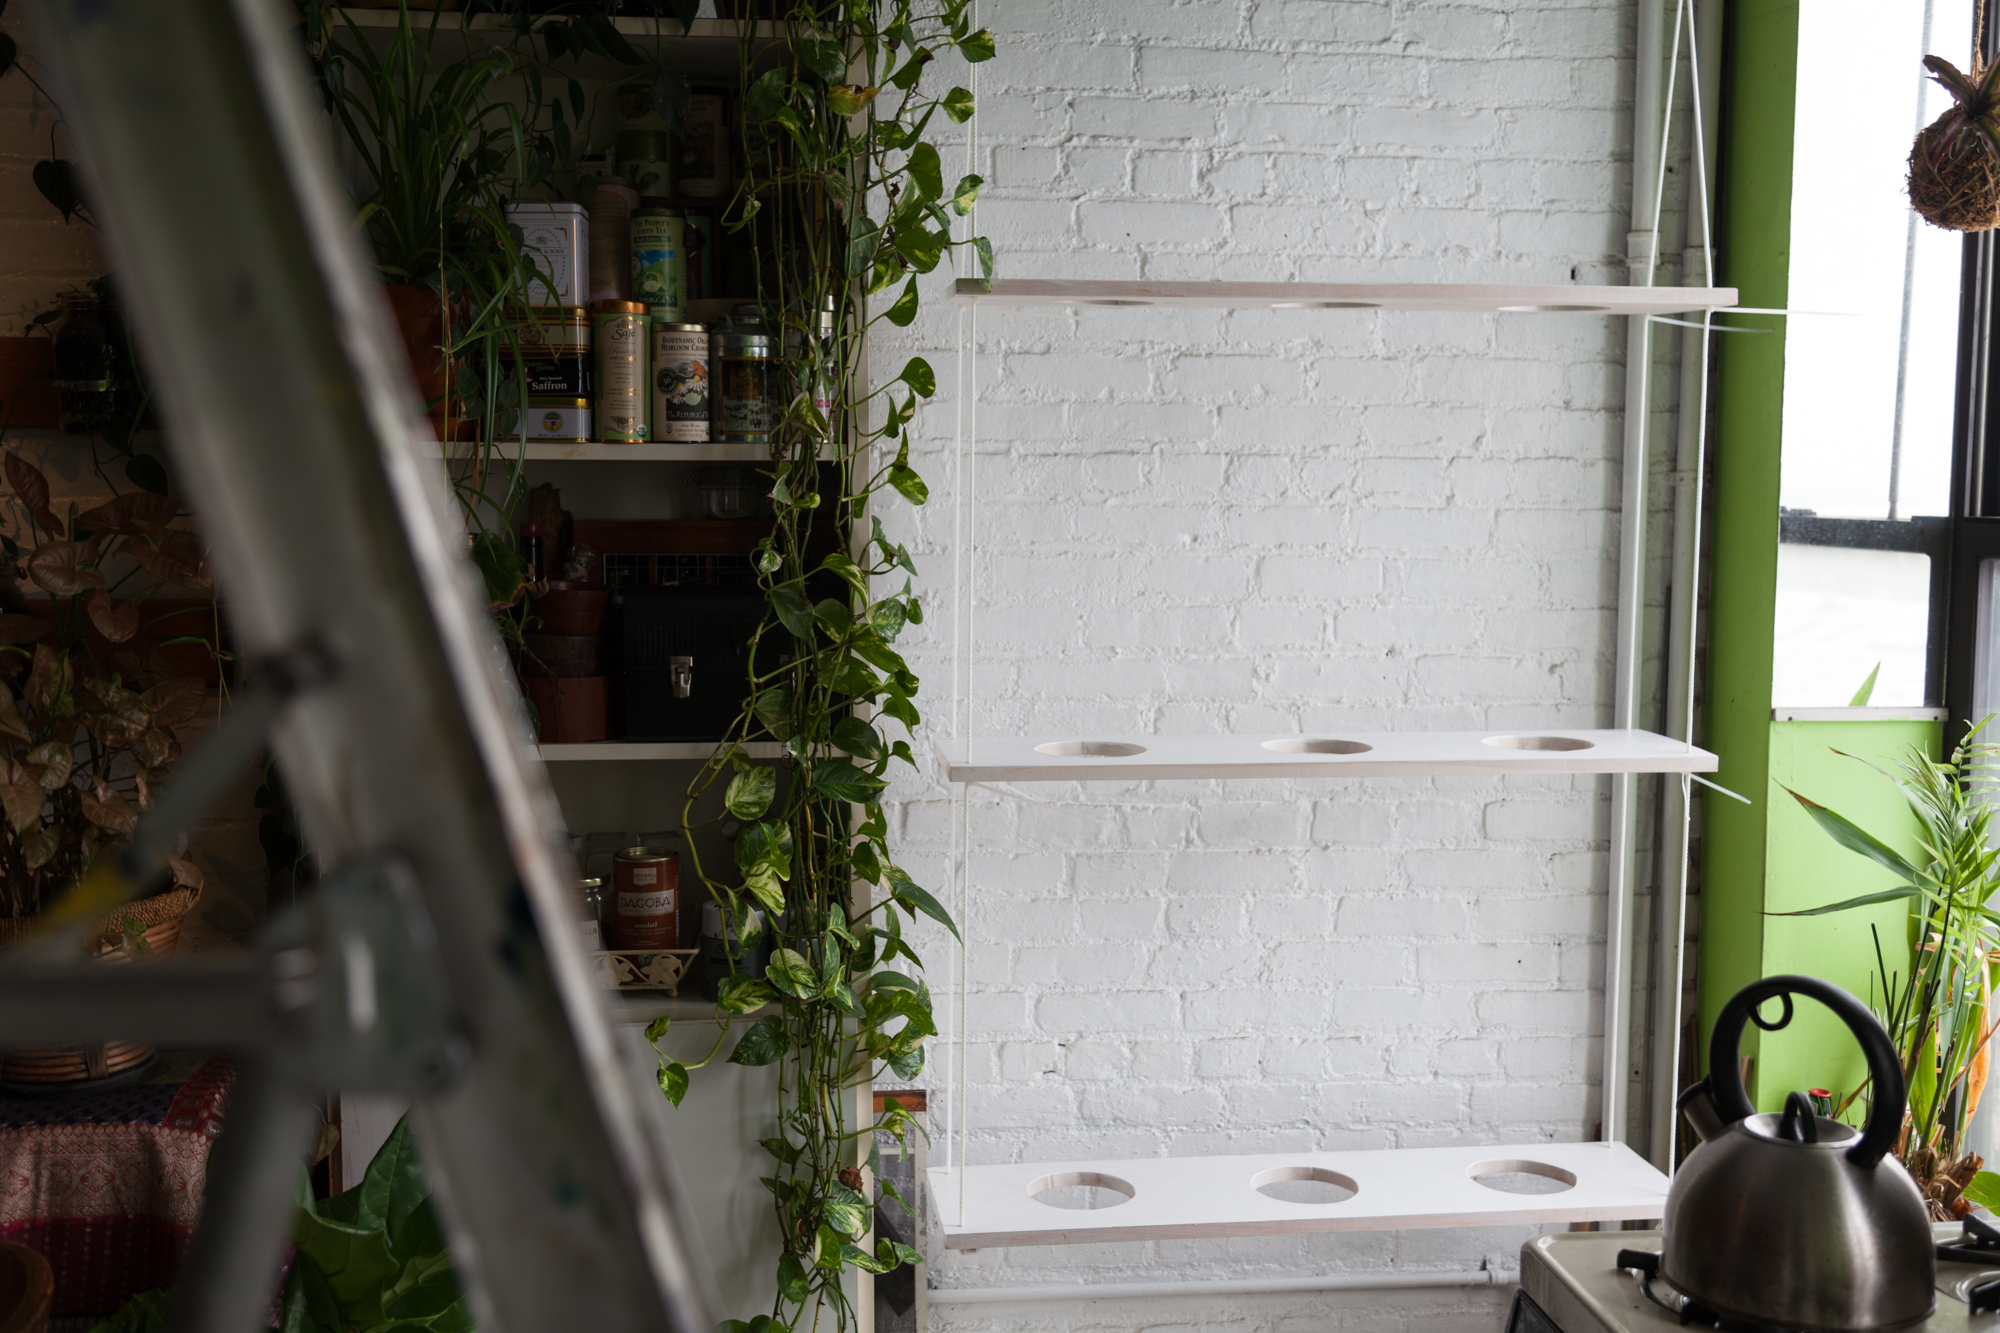
I began to take measurements of the wall and sketch out what the vertical swing garden would look like. My friend Sander then took my sketches and converted them into a Cinema 4D file, so that we could physically "see" what the garden would look like in the intended space. In that program, we could get a sense as to how many shelves and what height between the shelves looked most appropriate.

This is the shelf spacing we came up with in Cinema 4D

Then we applied all the measurements so that we could cut-to-measure and gather appropriate materials.
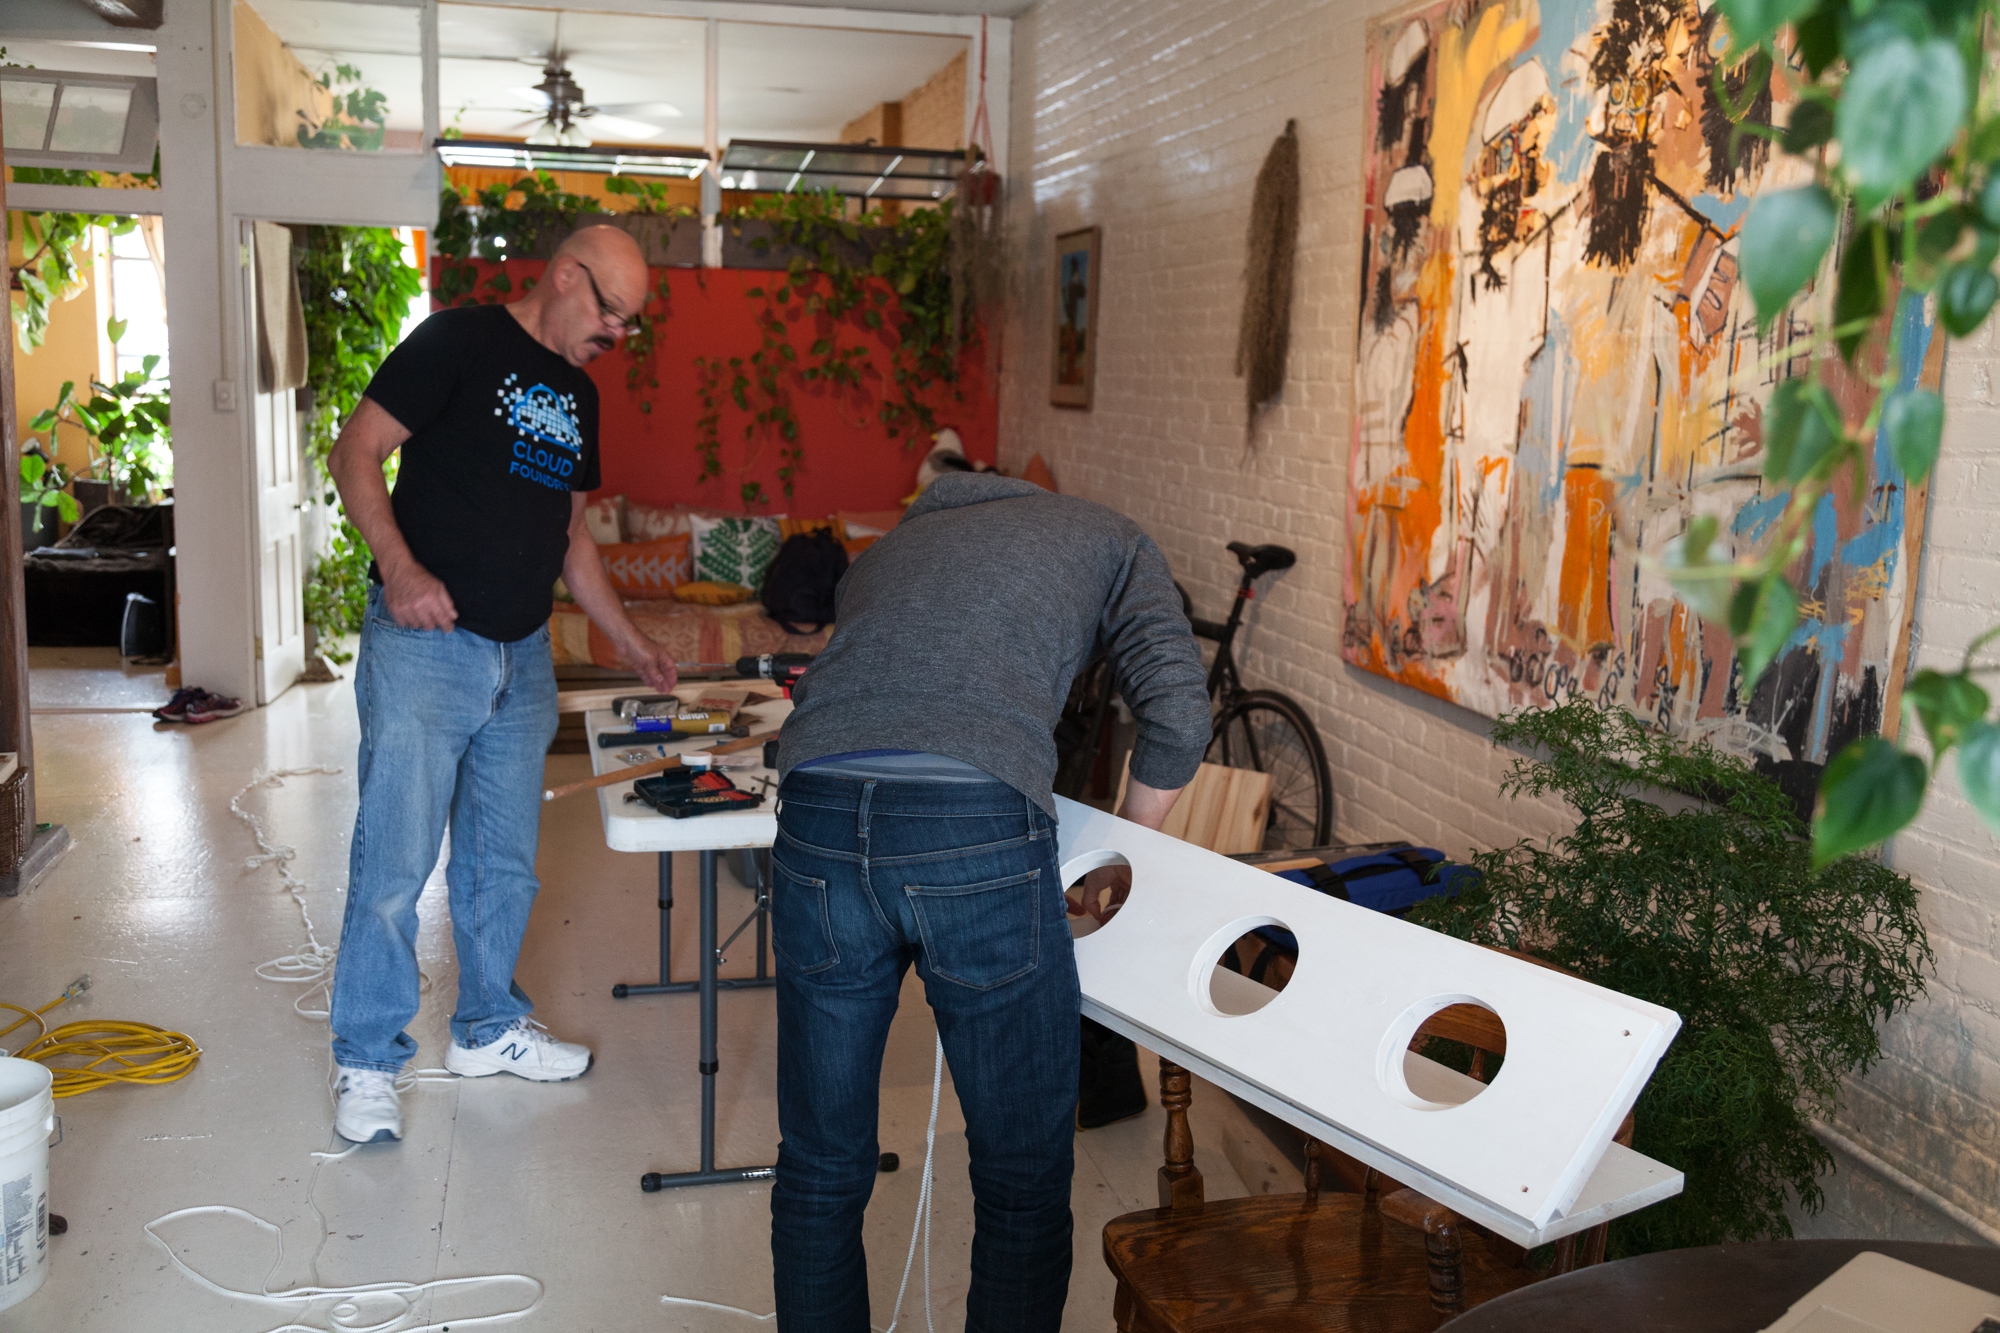
I then sent those files to my dad and he surveyed the possibilities. He suggested that he would use scrap wood he had lying around his house (instead of my set design wood), so that he could cut out the holes for the pots in PA. Bringing all of his equipment to New York sometimes didn't make sense!
Another aspect I love about larger DIY projects like this is that I get to involve family and friends. The first DIY greening project that I ever did with my dad—the mason jar garden—was quite possibly one of the funnest projects we ever did together. Additionally, it was such a delight to bring Sander into the mix on the vertical swing garden, especially since he was trained in carpentry and architectural design.
I wanted to make sure that I documented the entire process of making the vertical swing garden, so I pretty much let my dad and Sander handle the heavy lifting. Hope you enjoy how it came together!

Tools
- table saw
- electric drill and drill bits
- pencil
- measuring tape
- level
- 3 wooden planks, 38"l x 9"w
- reinforcer wood, 44" l x 2"w x 1.5" h
- 2 screw hooks
- paint or stain
- 30-50 feet of rope
- 24 zip ties
- clippers
- bamboo (or broom handle), cut to size
- 2 heavy duty, screw-in hooks
- 9 pots
- 9 plants
Directions
- Take measurements of your intended wall to plan all proper measurements of your vertical swing garden. (I'll use mine here, just as an example).
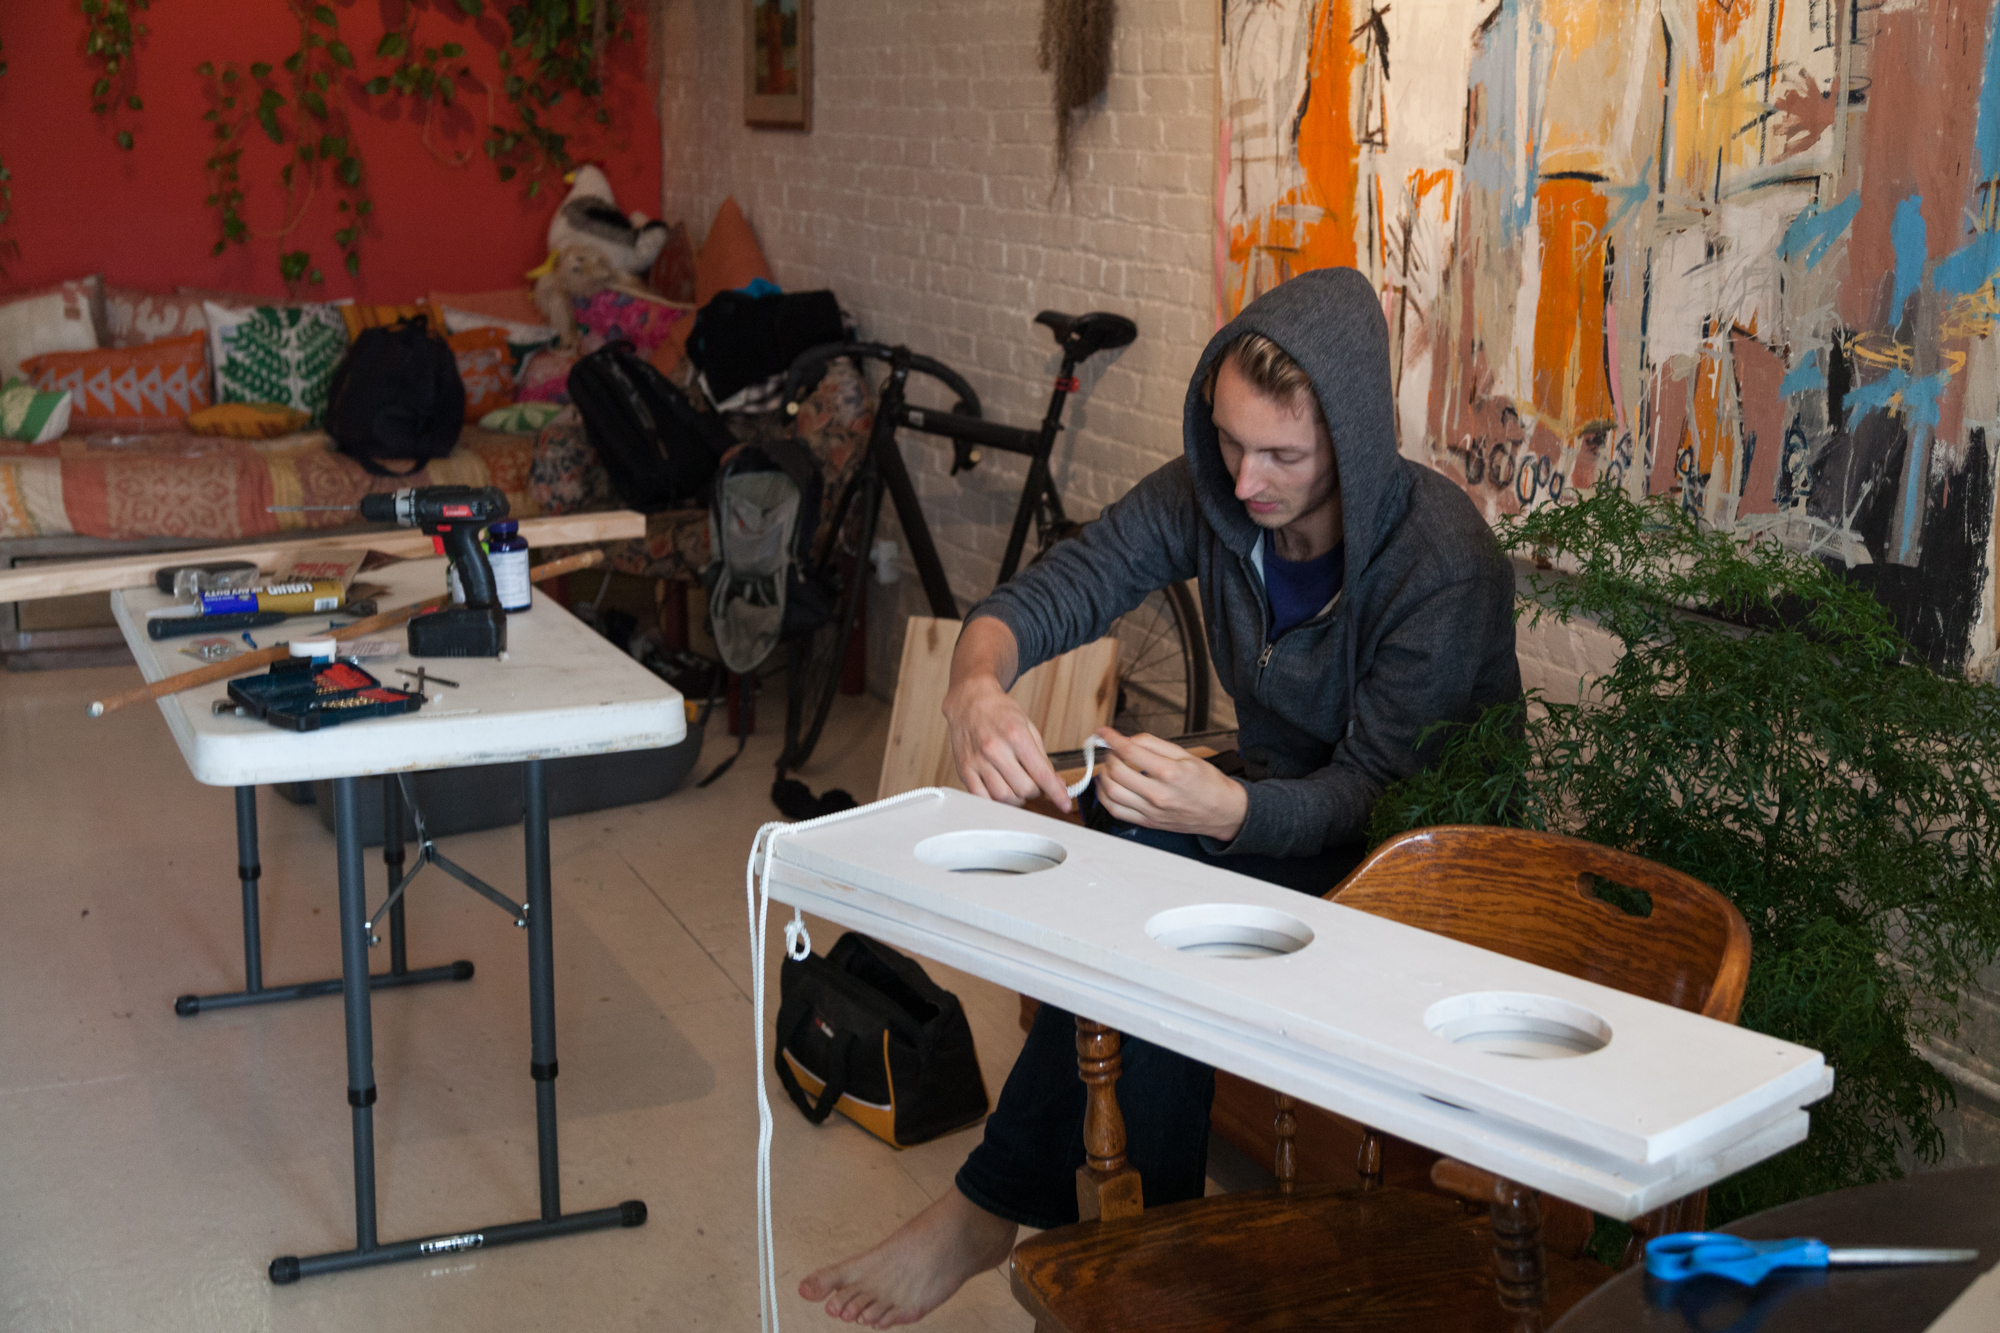
- Cut your planks to size. Hand cut the holes, making sure they are smaller than the largest part of your planters. (I prefer the planters to roughly sit in the middle of the wooden shelves). We cut the holes to fit a 5.57" diameter and we measured that diameter from 7.5" in from the edge of the planks.
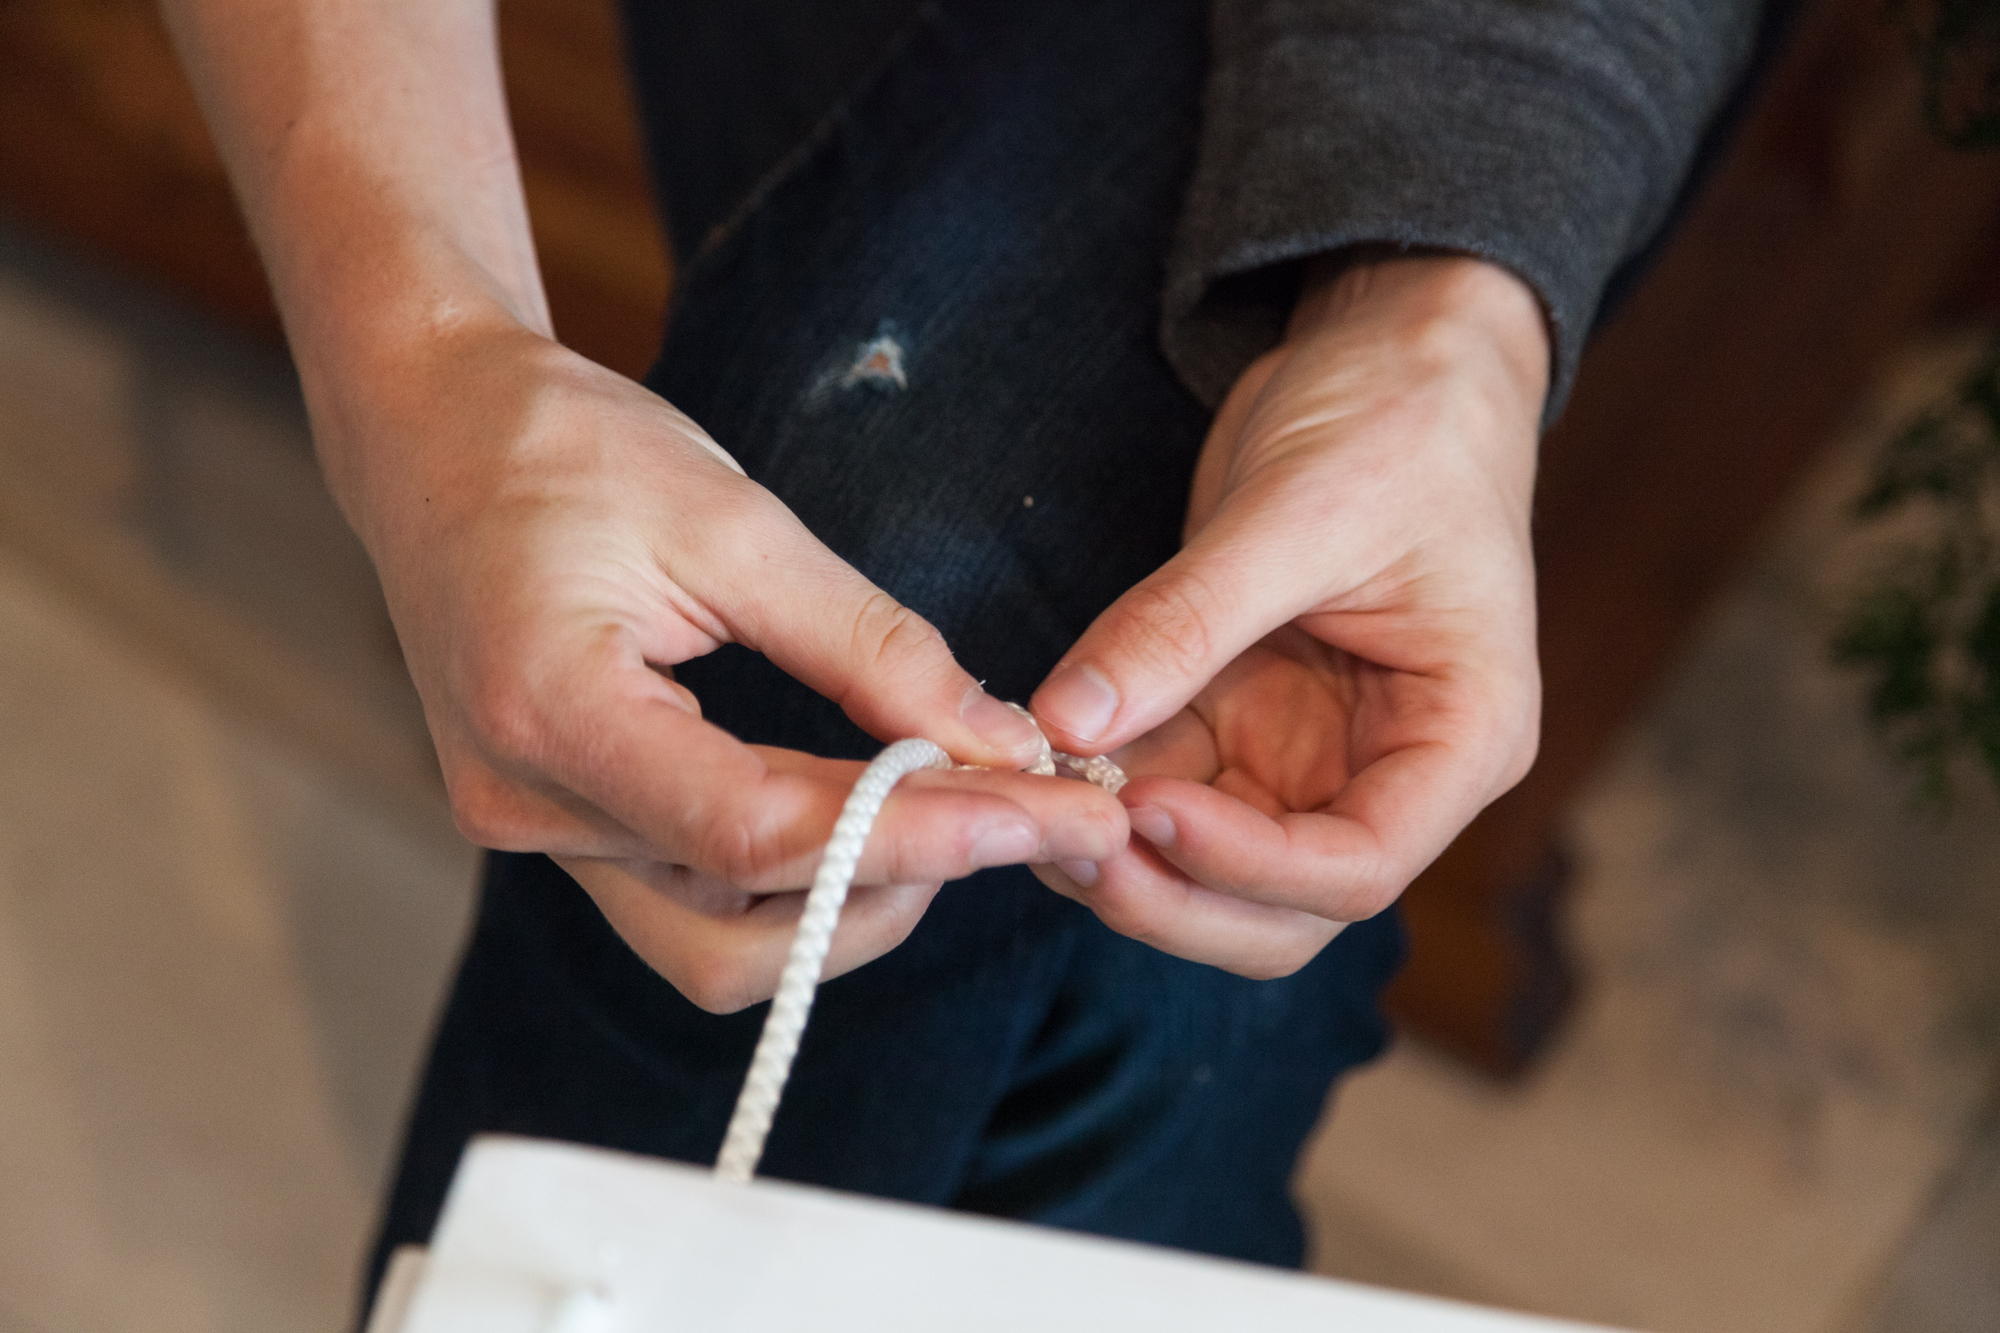
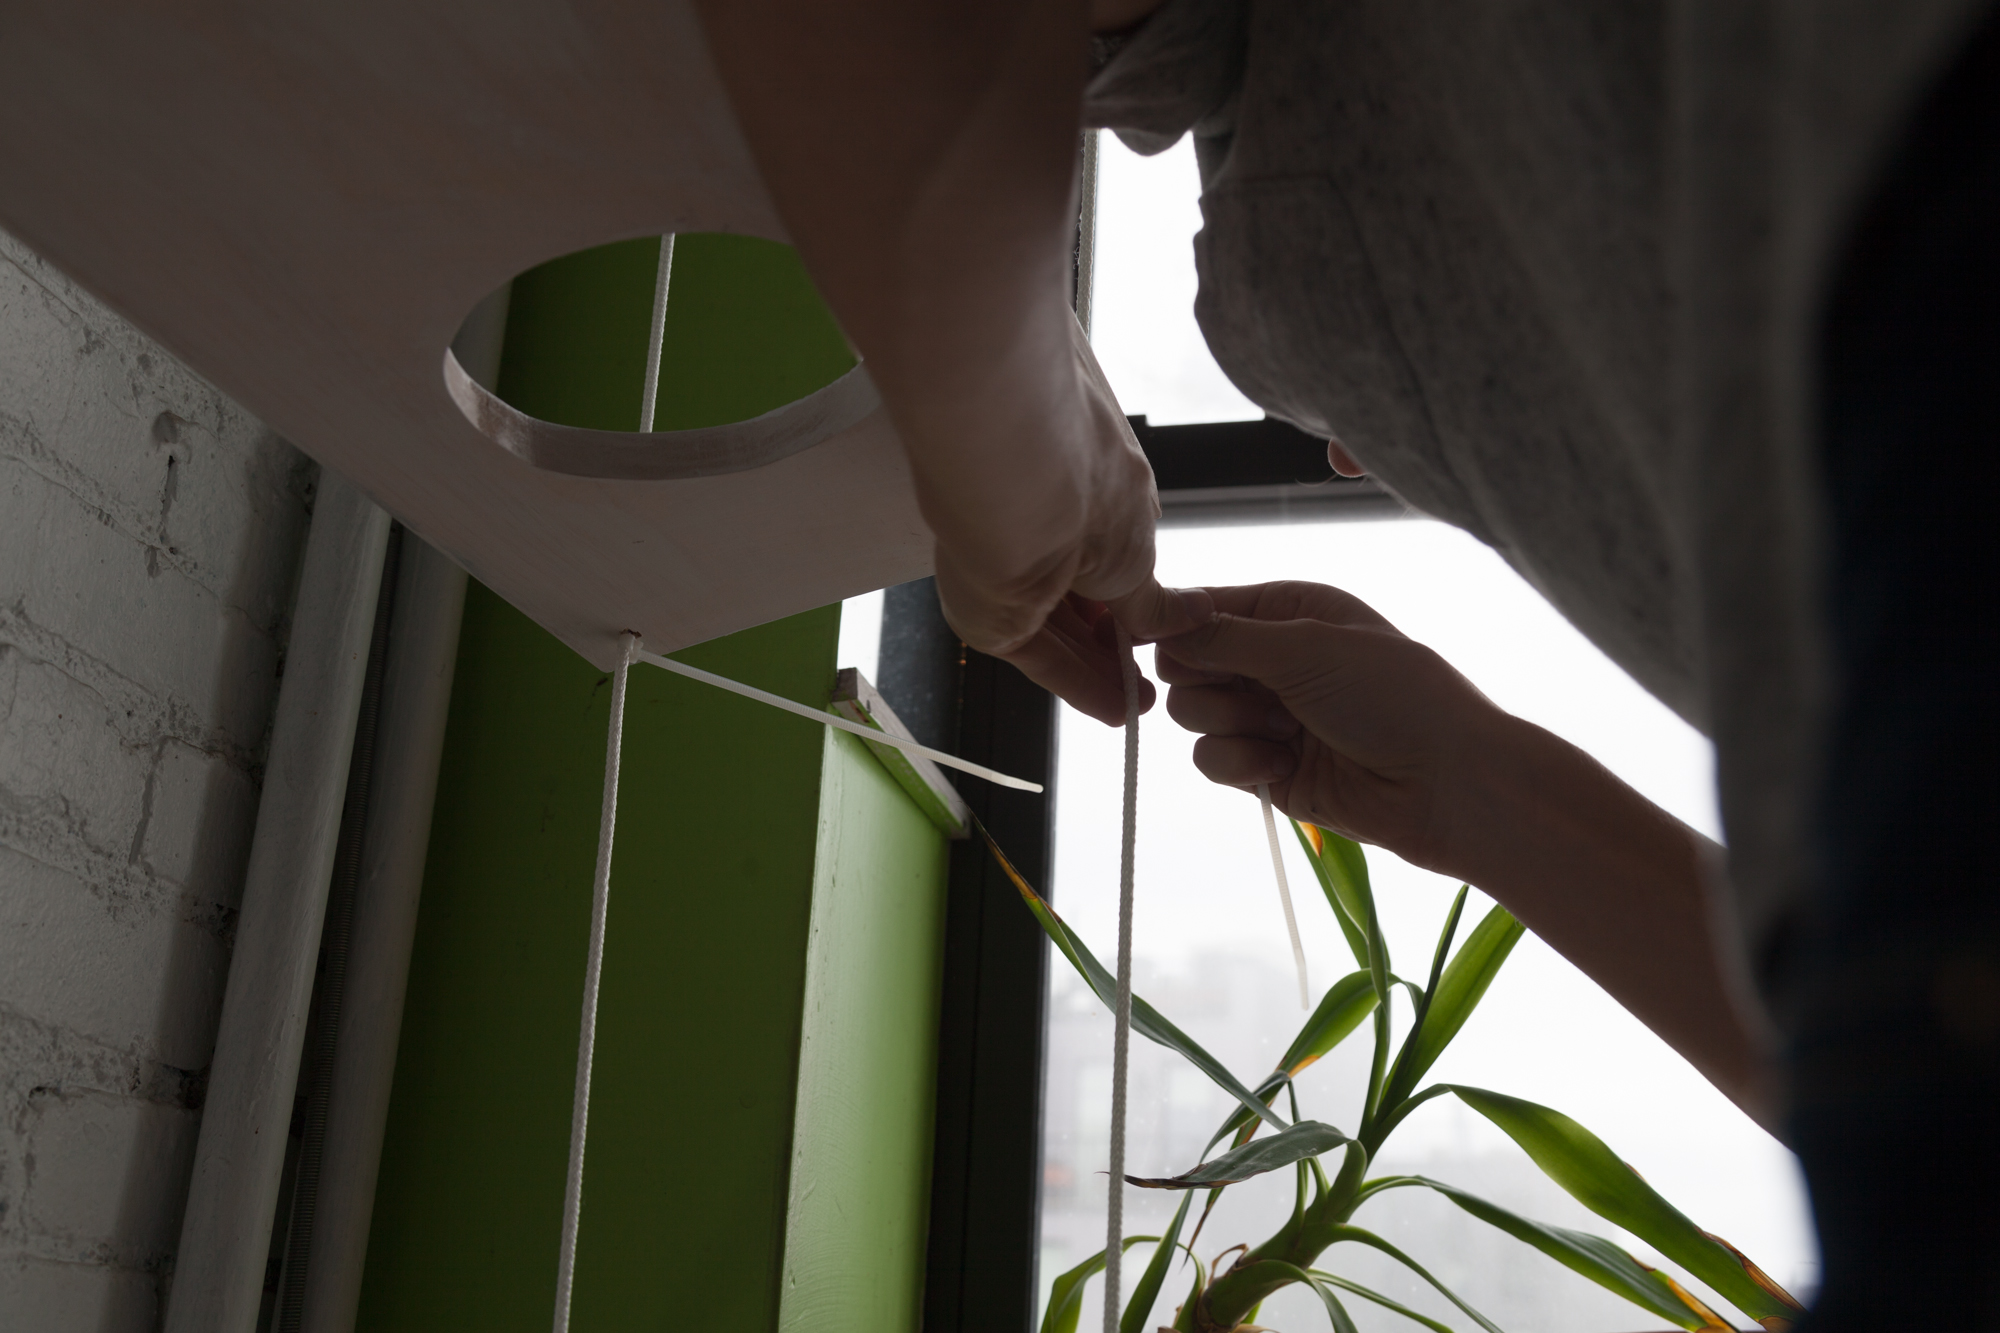
- Drill holes in each corner of the planks for the rope, making sure that the holes are just big enough for the rope to fit through, as you want it to fit snugly.
- Paint or stain all the wood to your preferred color.
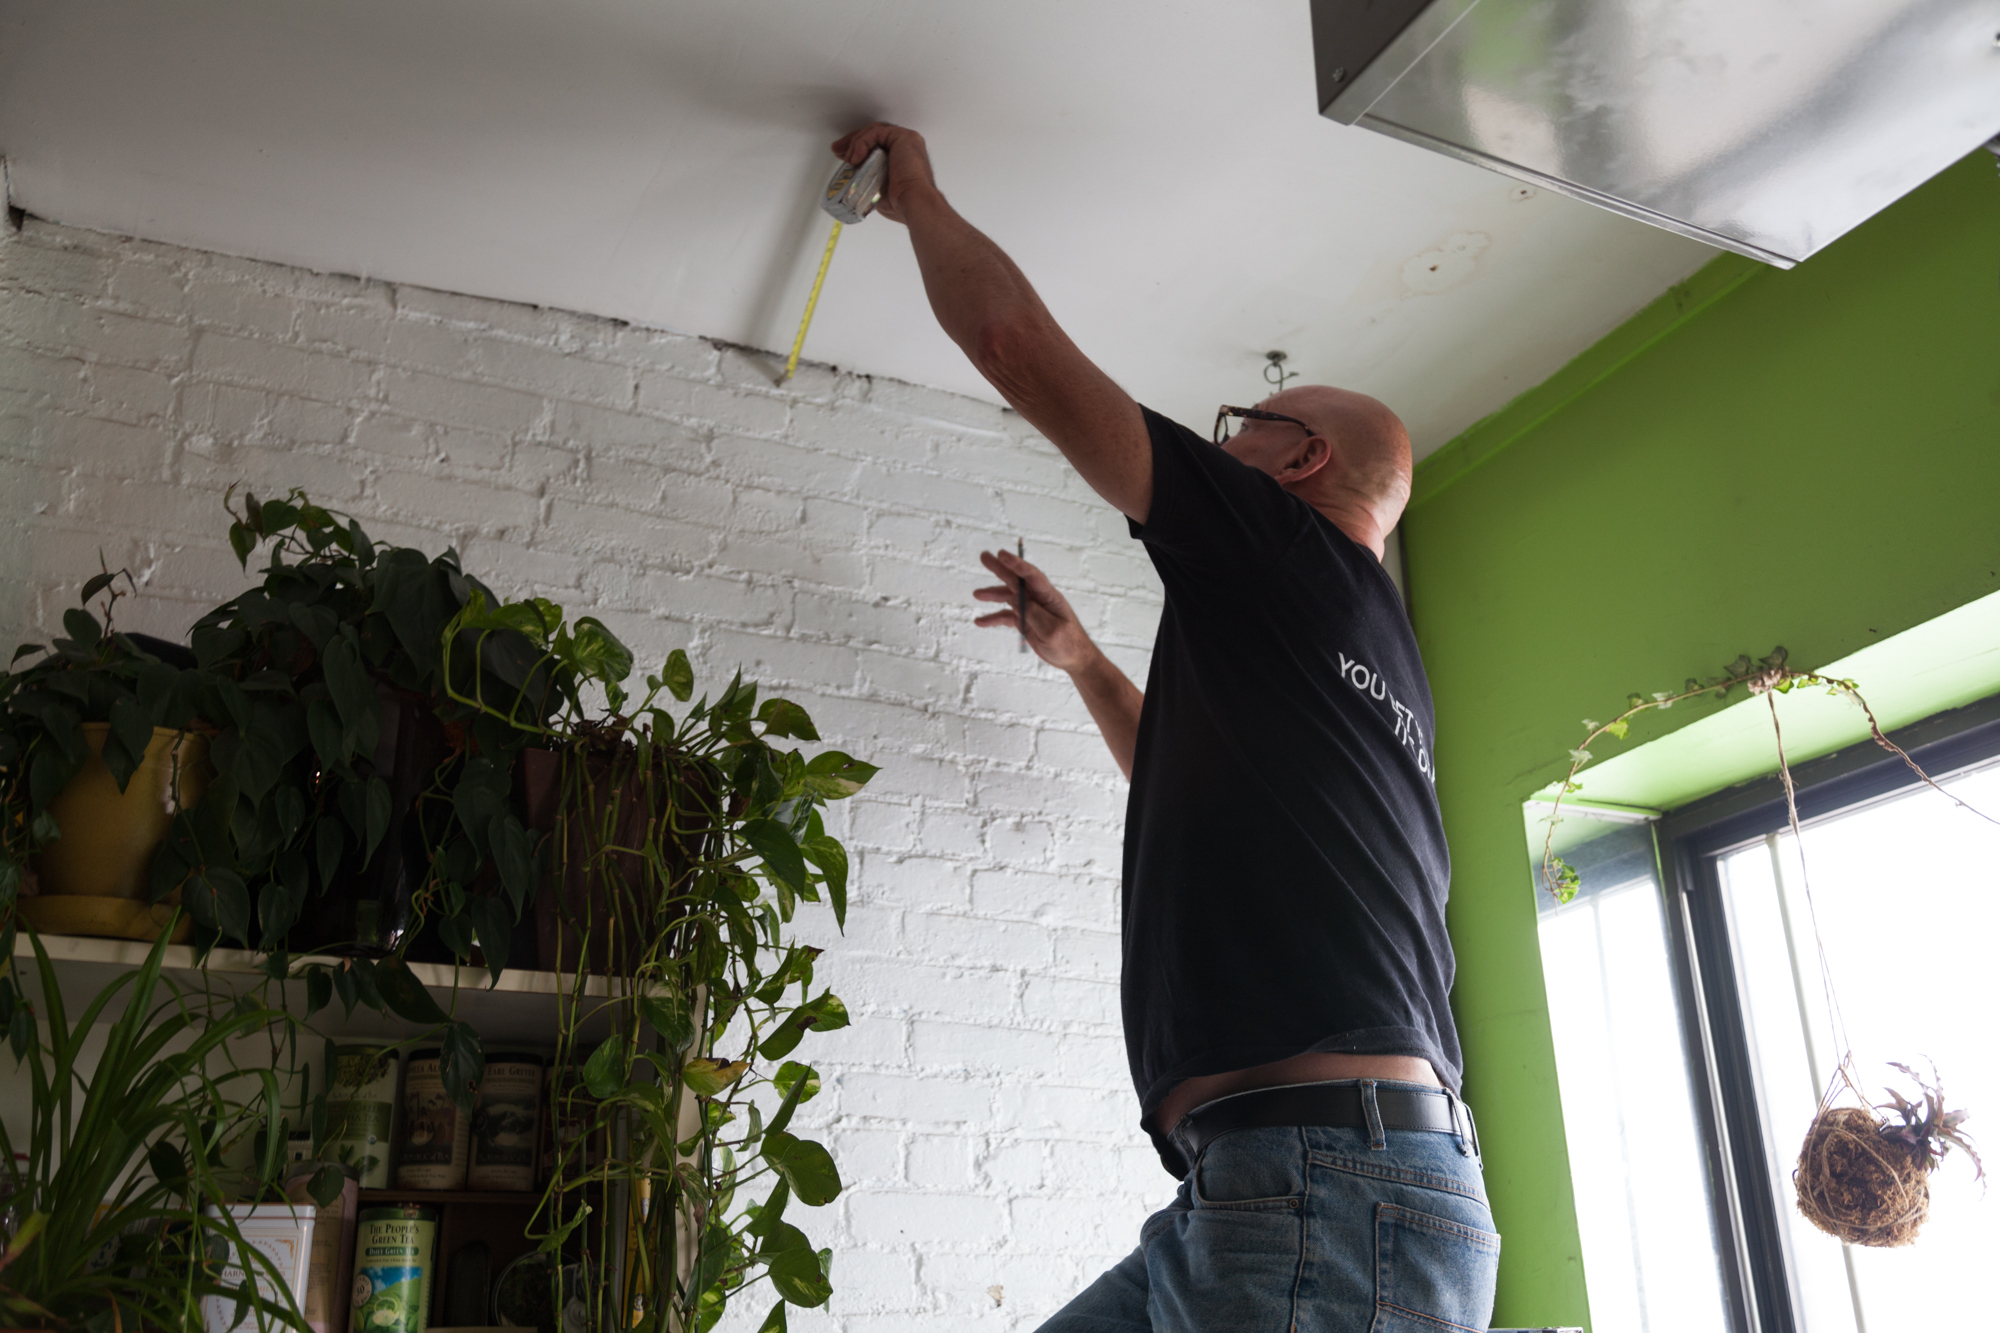
- Take a level and measuring tape to measure how far away you want the vertical swing garden away from your wall.
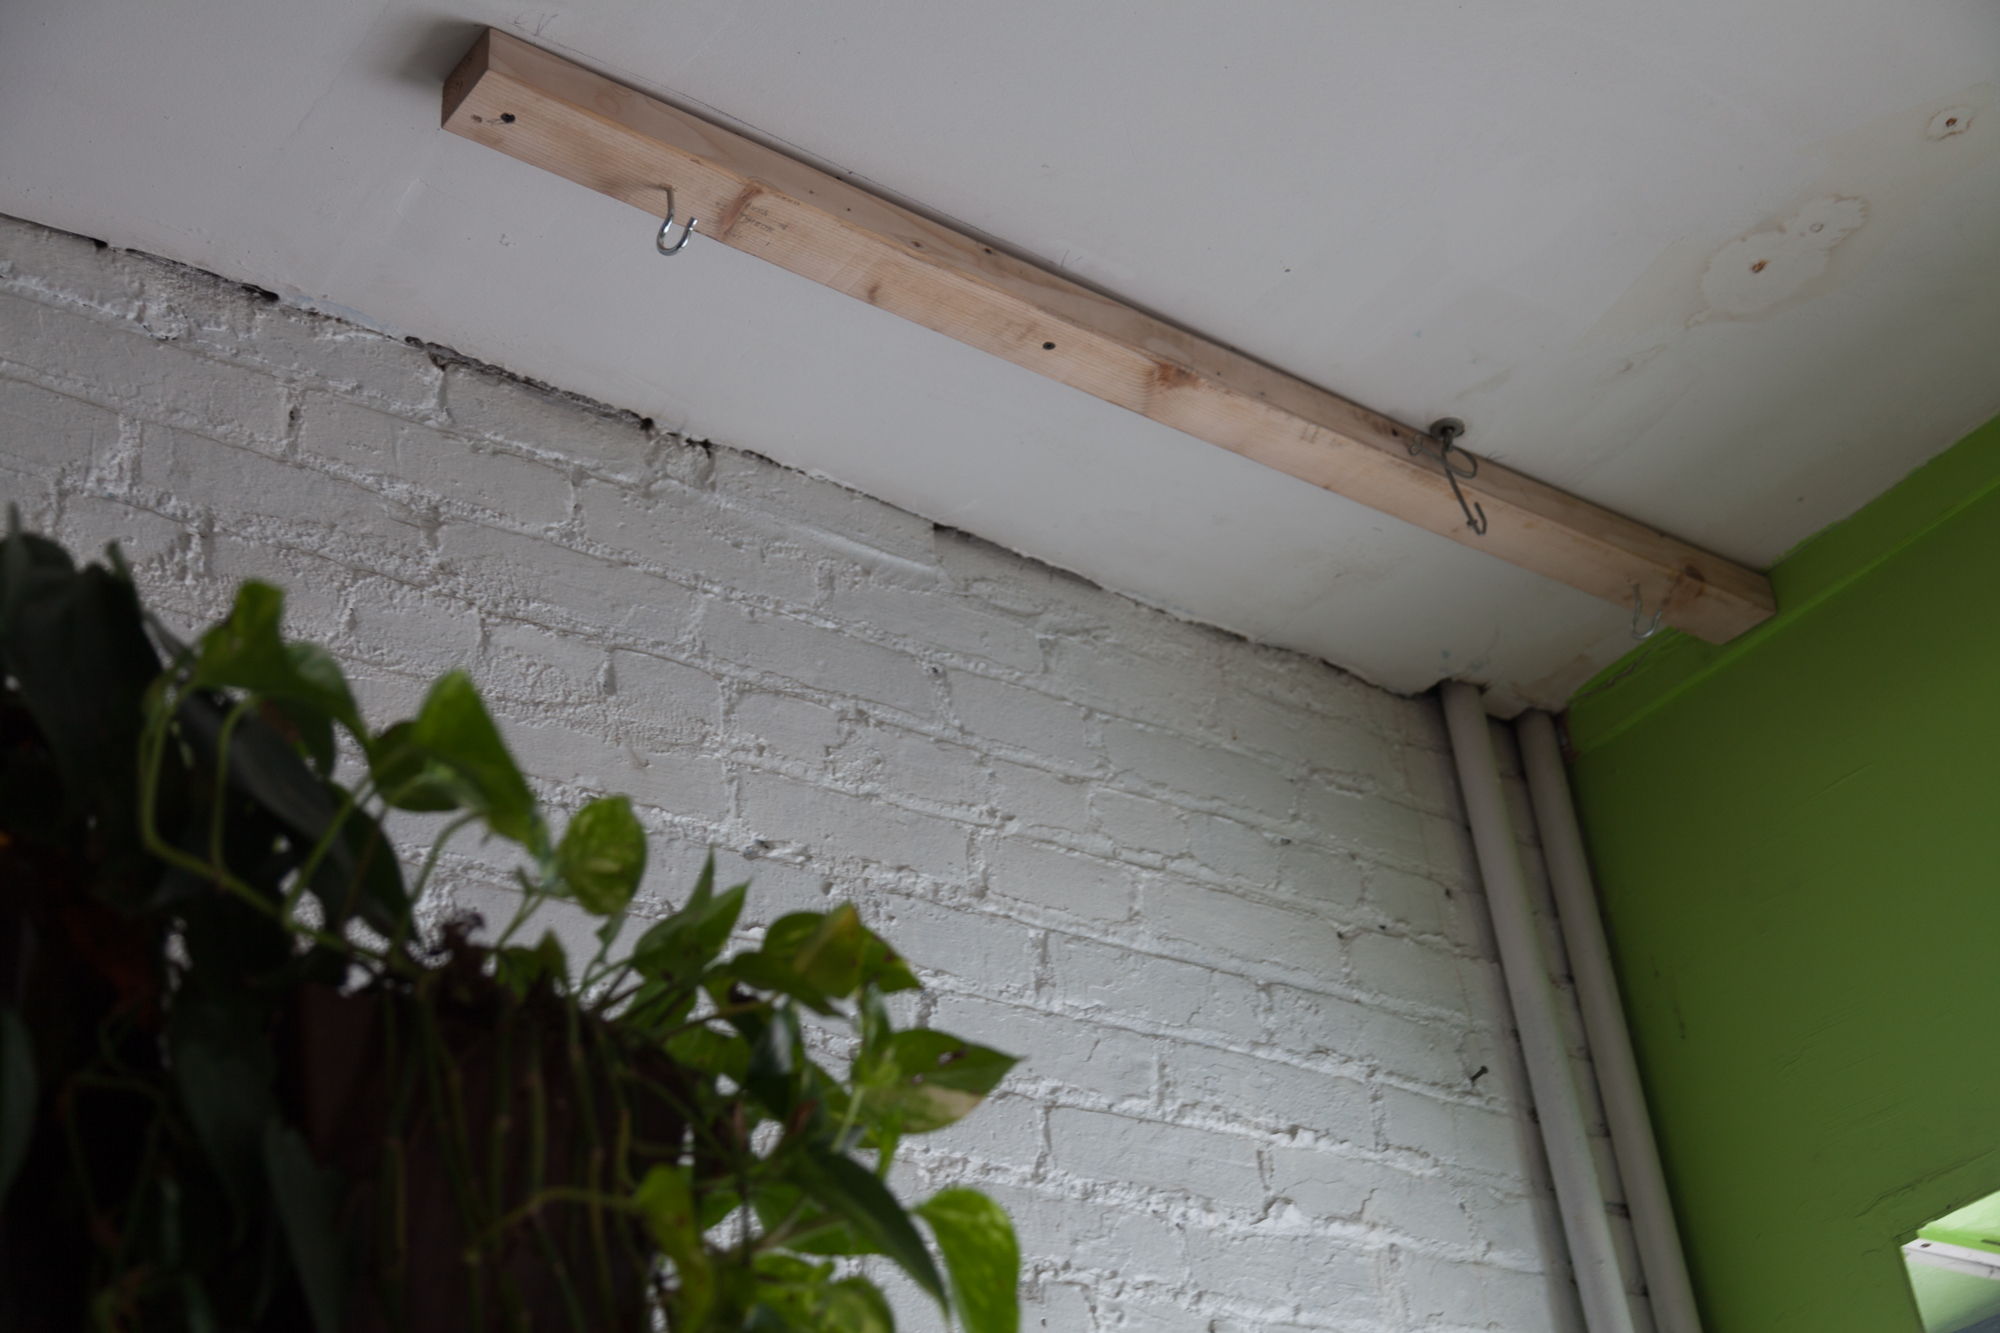
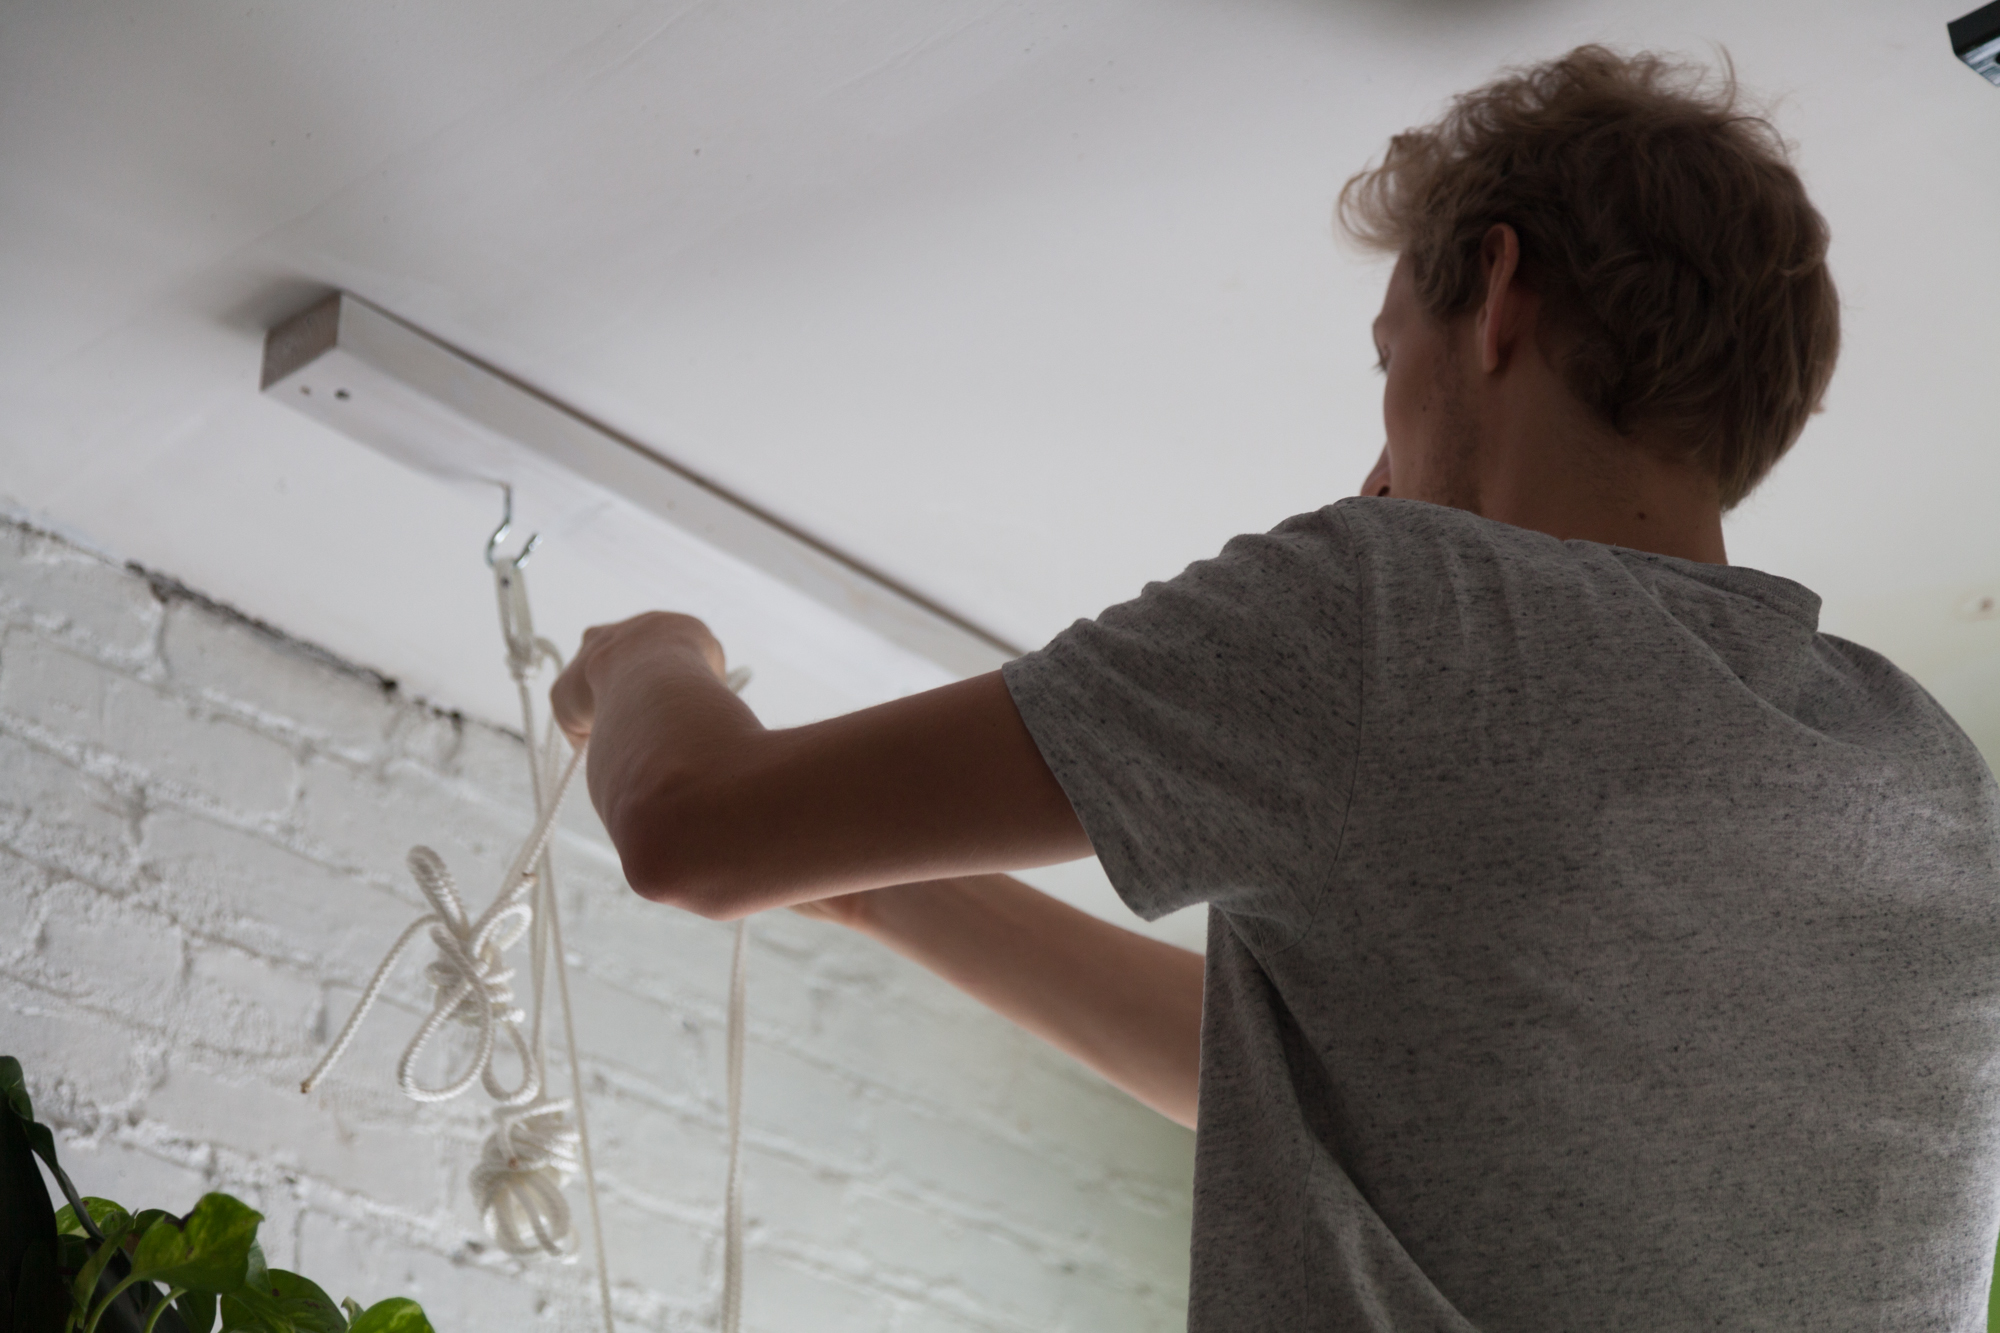
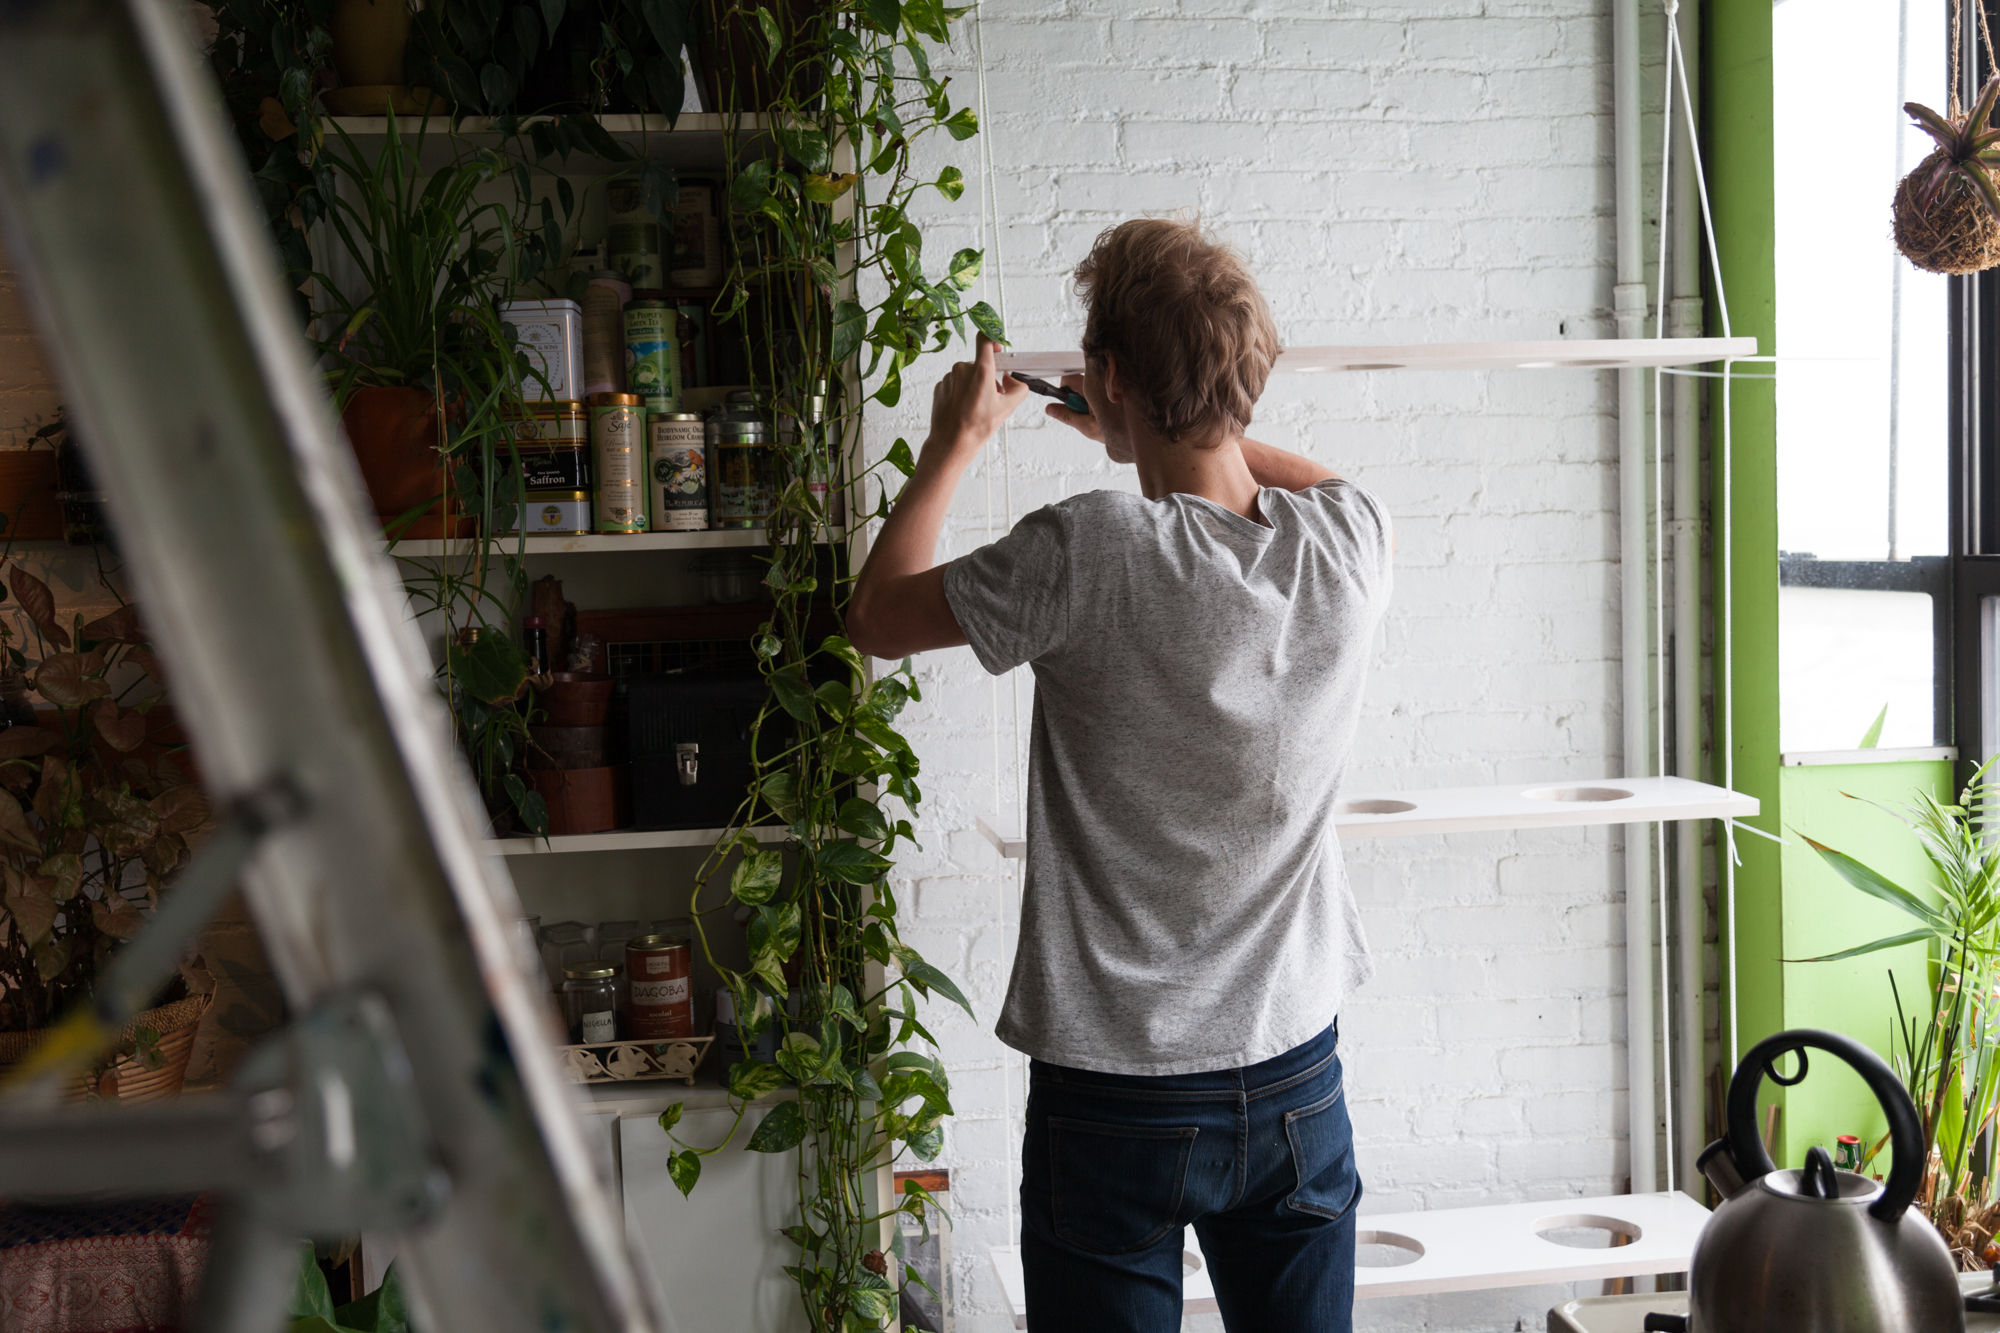
- Place pencil marks on ceiling and add a reinforcement wood, if need be. Screw the wood into the ceiling. Then add two screw hooks to the reinforcement wood, which is where the rope will hang (mine were 5" away from the edges).
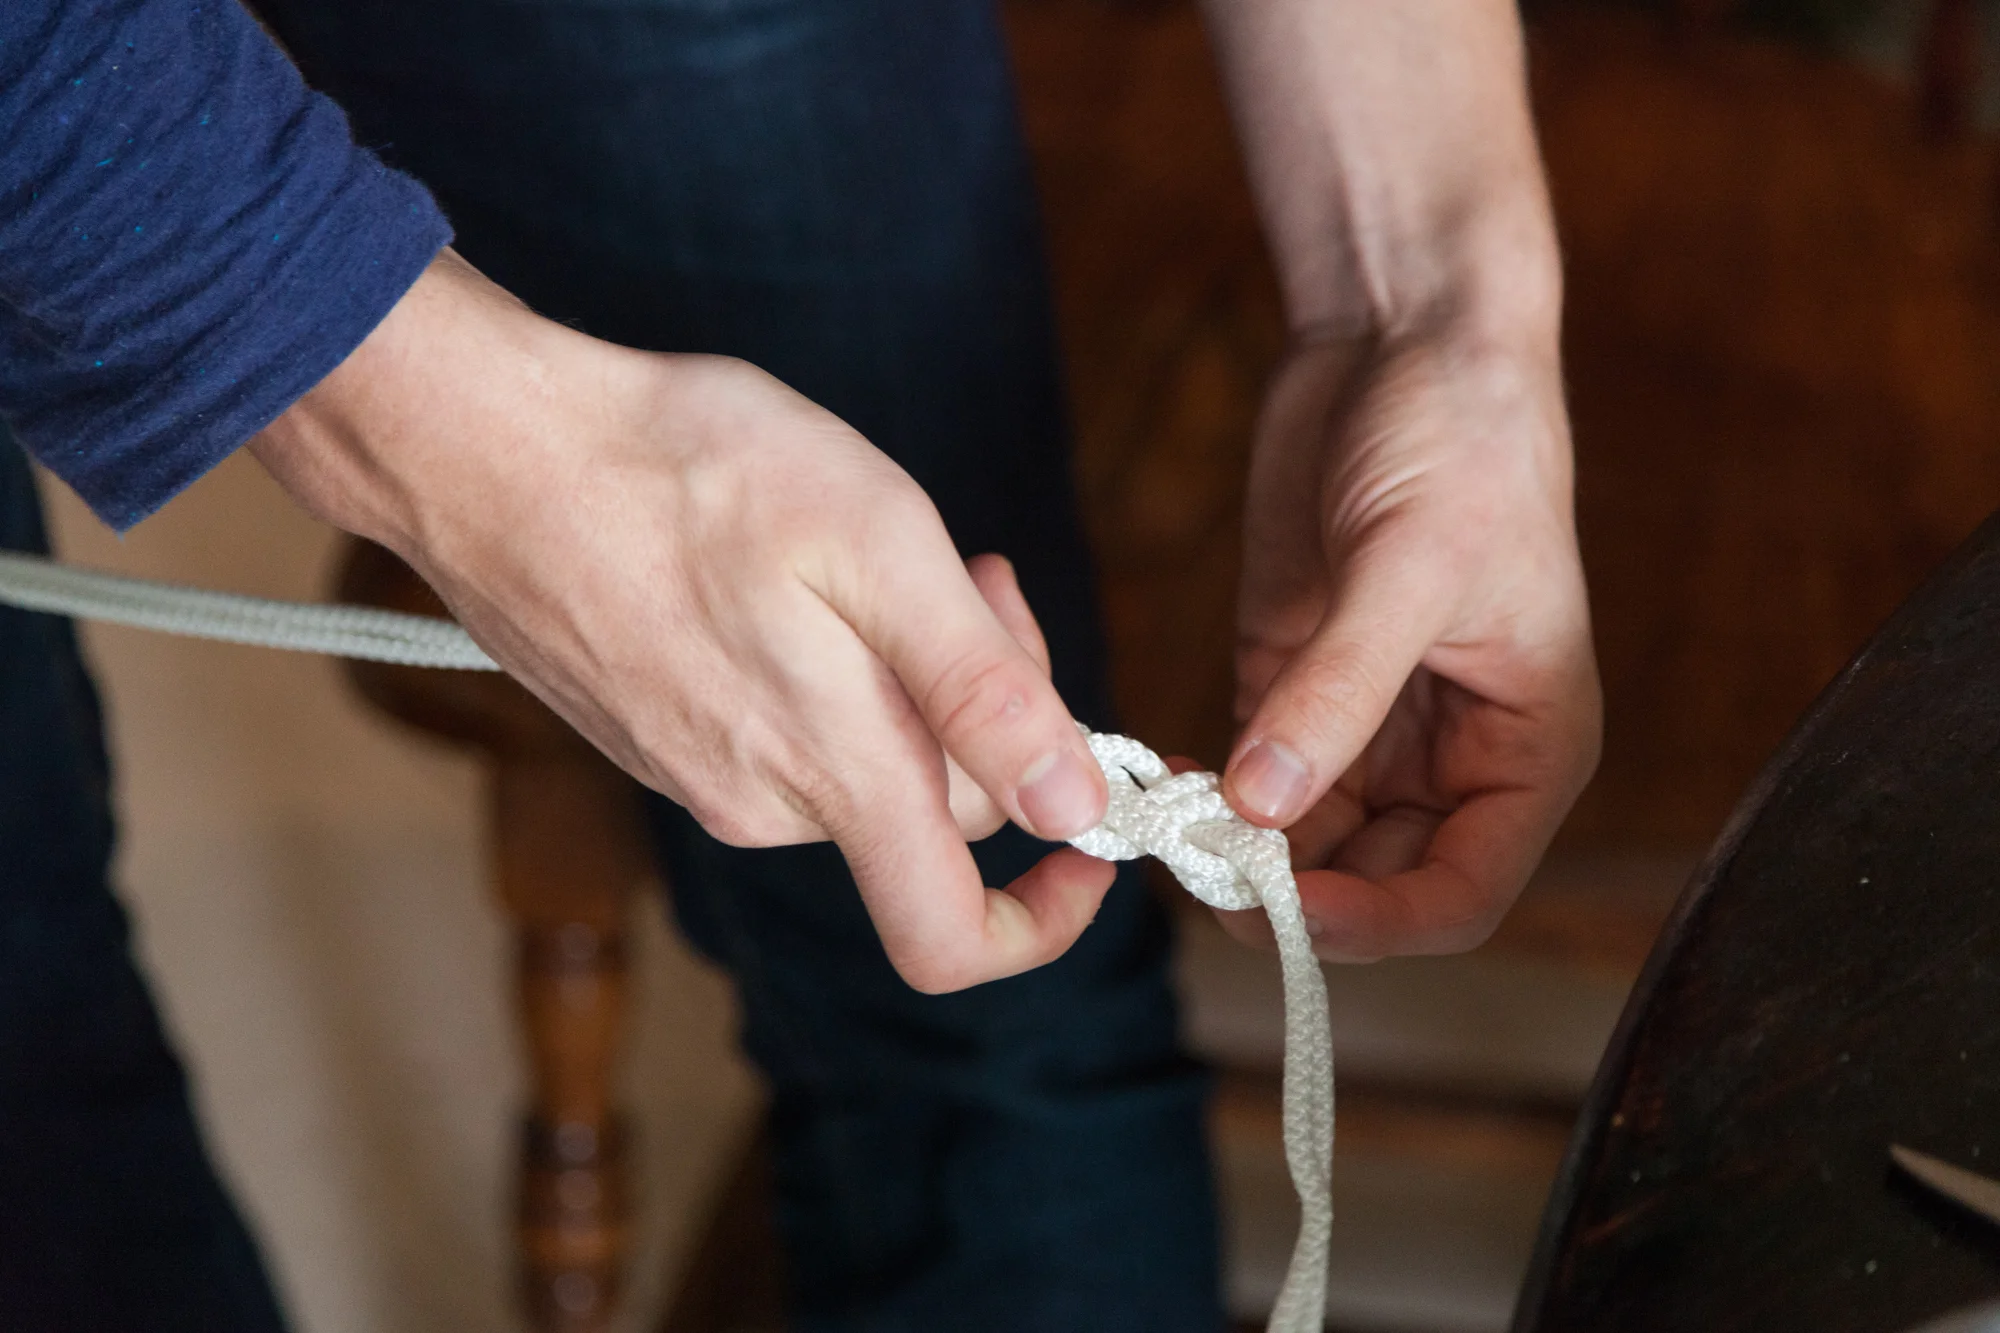
- Cut the rope to the appropriate length for each corner of the wooden shelves. Loop the rope through the screw hooks and begin adding each shelf. You'll need a couple people helping out on this so the shelves are held into place before adding the zip ties. Once the top shelf is in place, add the second, then the third shelf. Cut the extra length off the zip ties.
- Step back and see if you're happy with all the positioning and make adjustments where necessary.
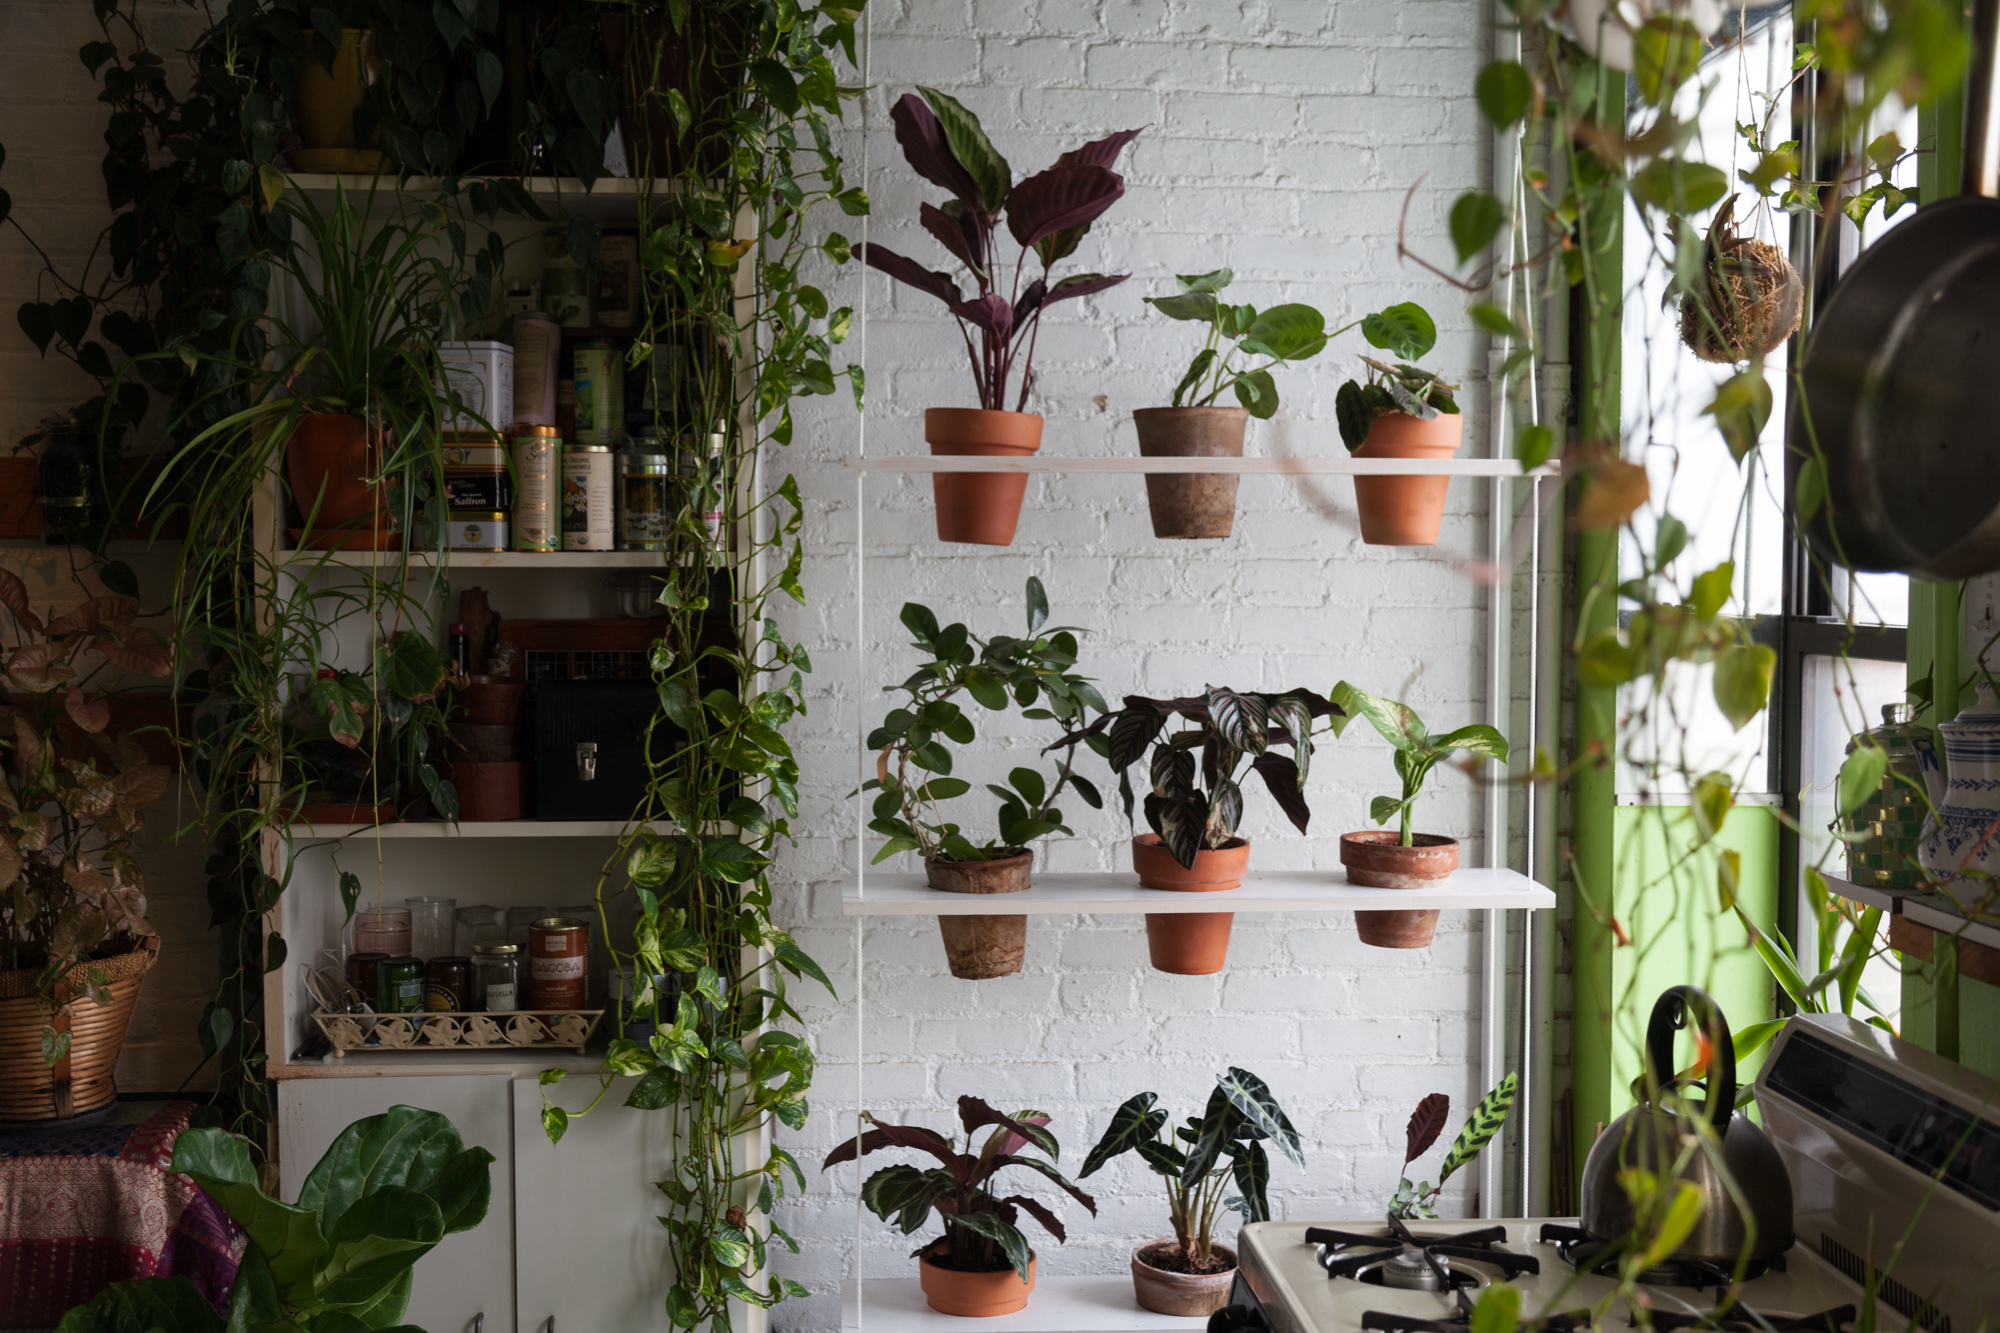
- Begin to add your potted plants, positioning the ones that need more light closer to the window.


A close-up of the vertical swing garden upon its completion in October 2015.

A look at the vertical swing garden a year later. I moved some of the more sensitive Calatheas out of the garden and replaced with an Anthurium and another Dieffenbachia bausei. You may not be able to tell from this shot, but the Stephanotis floribunda is now climbing up the ropes.
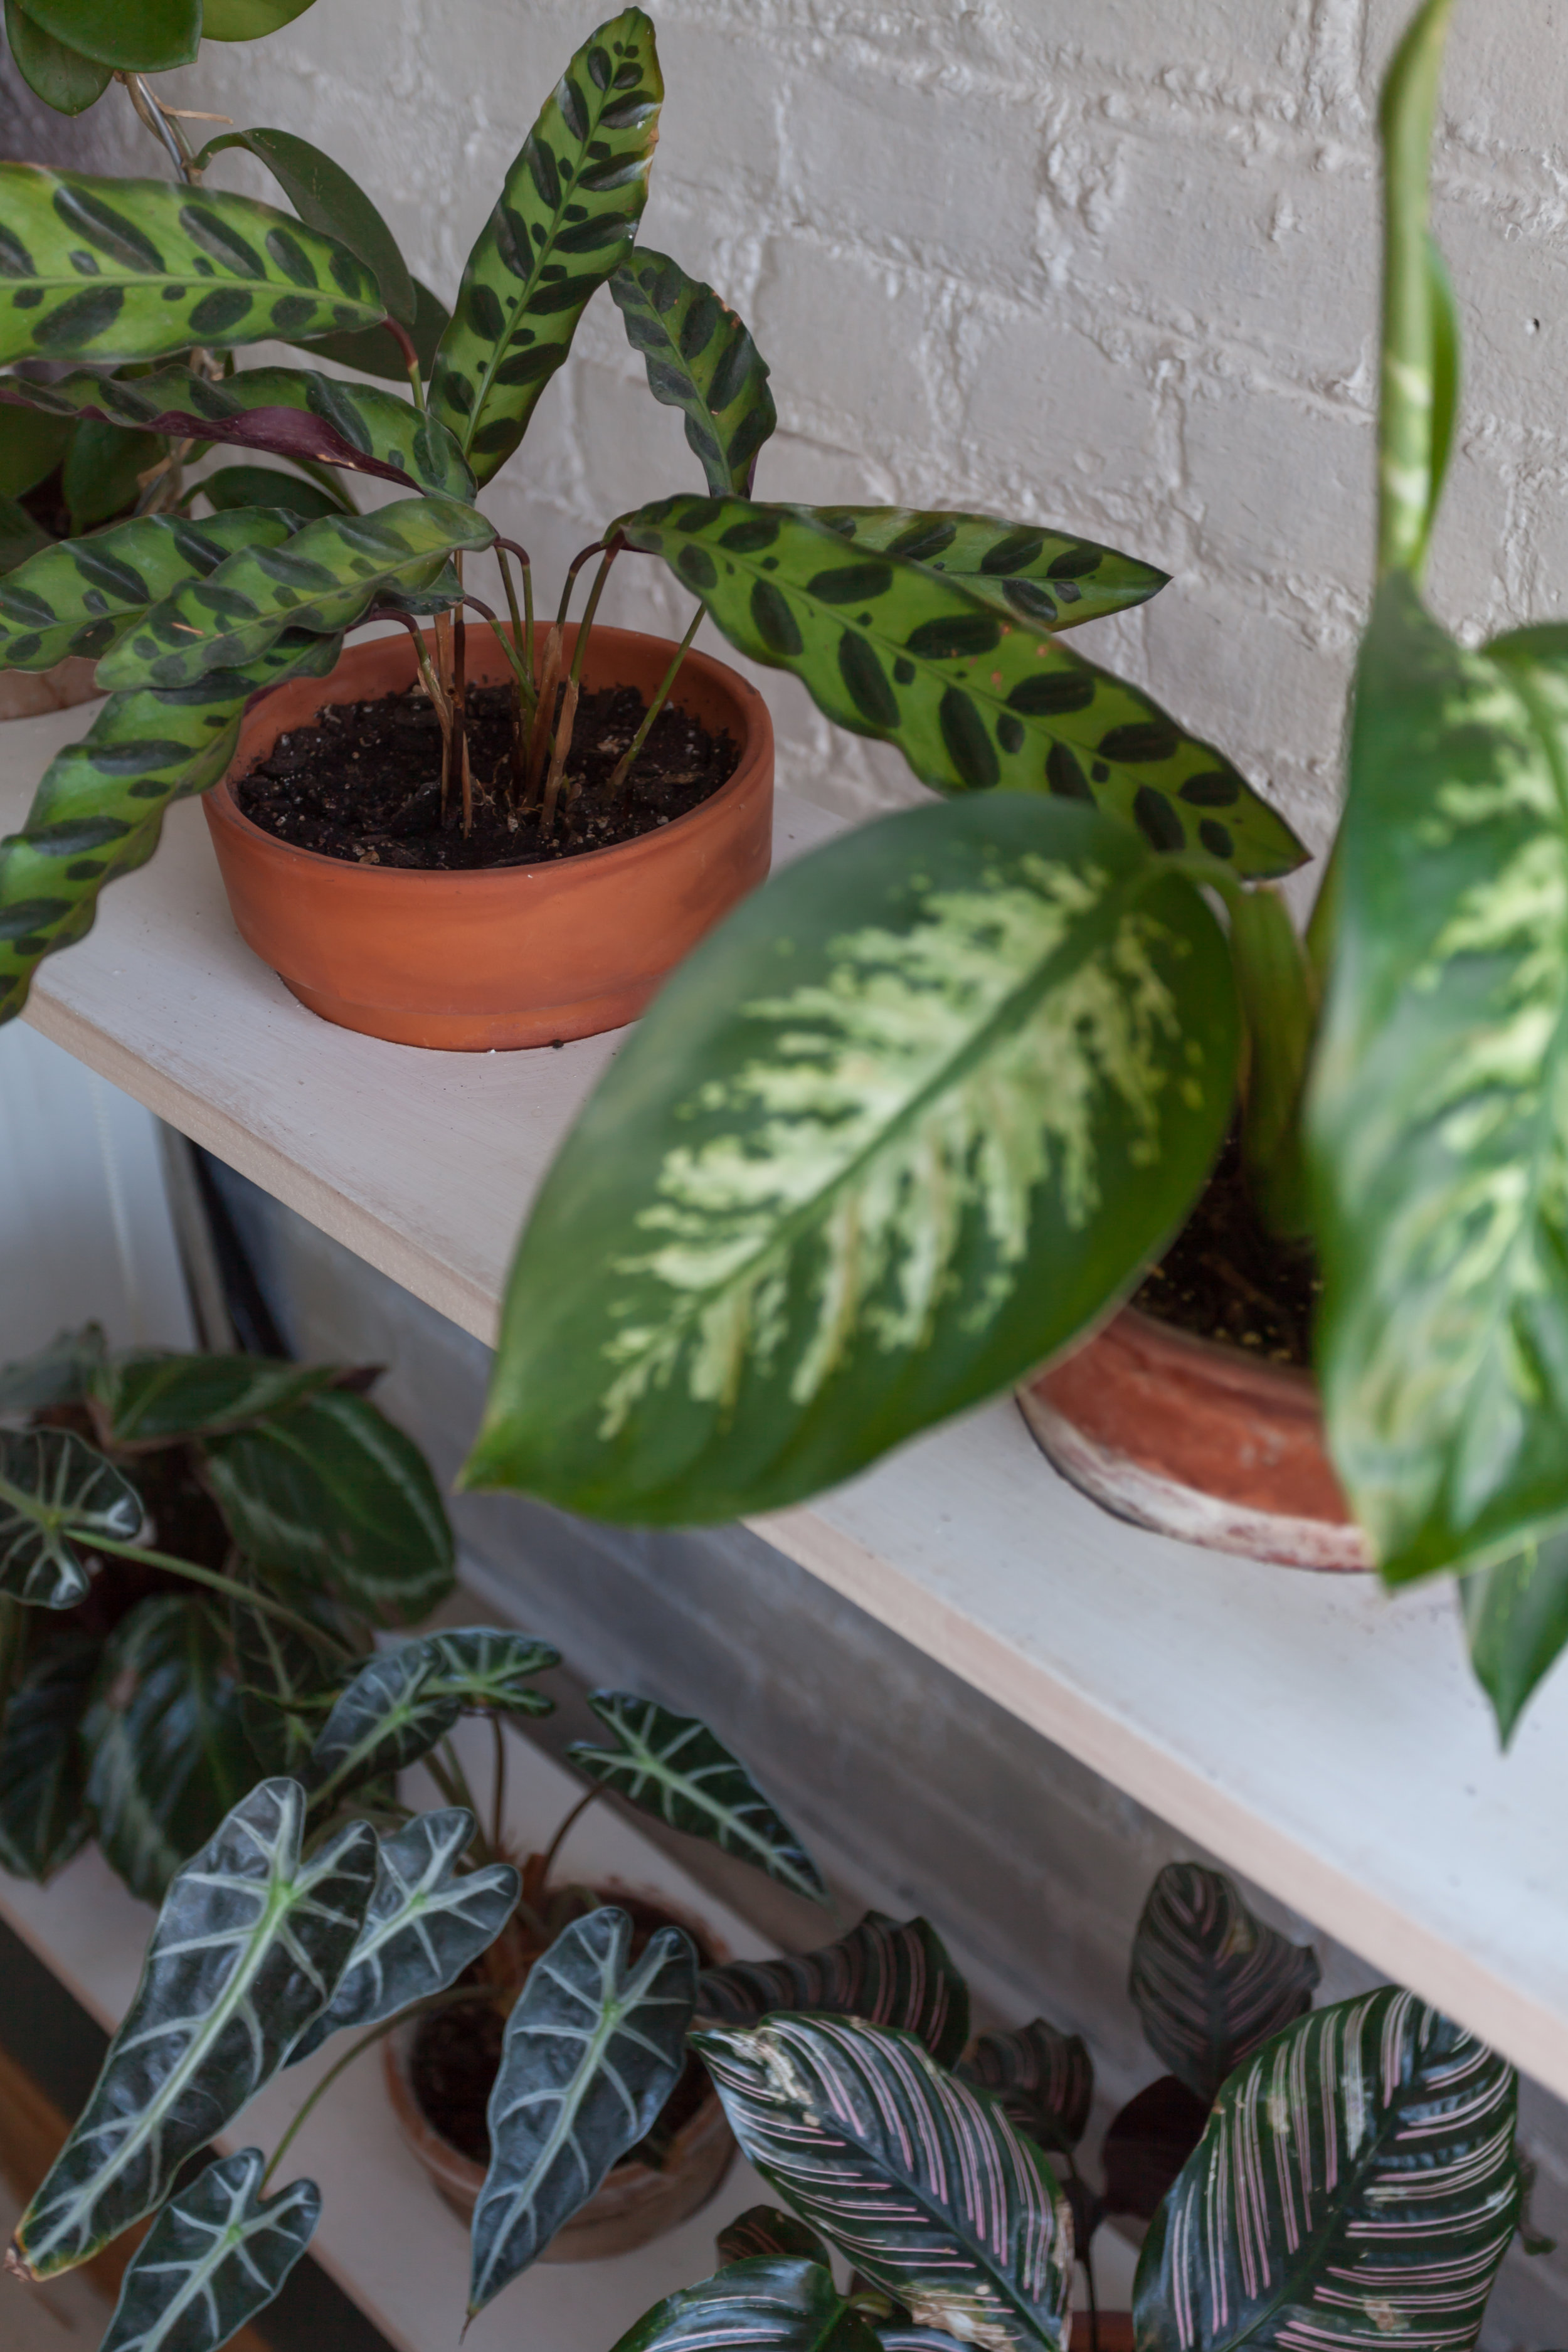
A close-up of the vertical swing garden upon its completion in October 2015 with focus on Calatheas, Alocasia, and Dieffenbachia seguine.

Golden hour is one of my favorite times during the day. The light bathes the plants in the most glorious golden hue, and brings a simple peace to the house.
I finished this project back in October 2015 and like many greening projects, I've found that I've had to switch out some plants. I particularly wanted more Marantaceae in the swing garden, but found that some of the plants, particularly the Calatheas and the Alocasia, were better served in my bedroom where there is higher humidity. This is part of the joy of discovery of these DIY projects. You can plan them out as much as possible in advance, but they're always changing and evolving. And the beauty about living art, is that it grows! Oh how it grows! 🌿