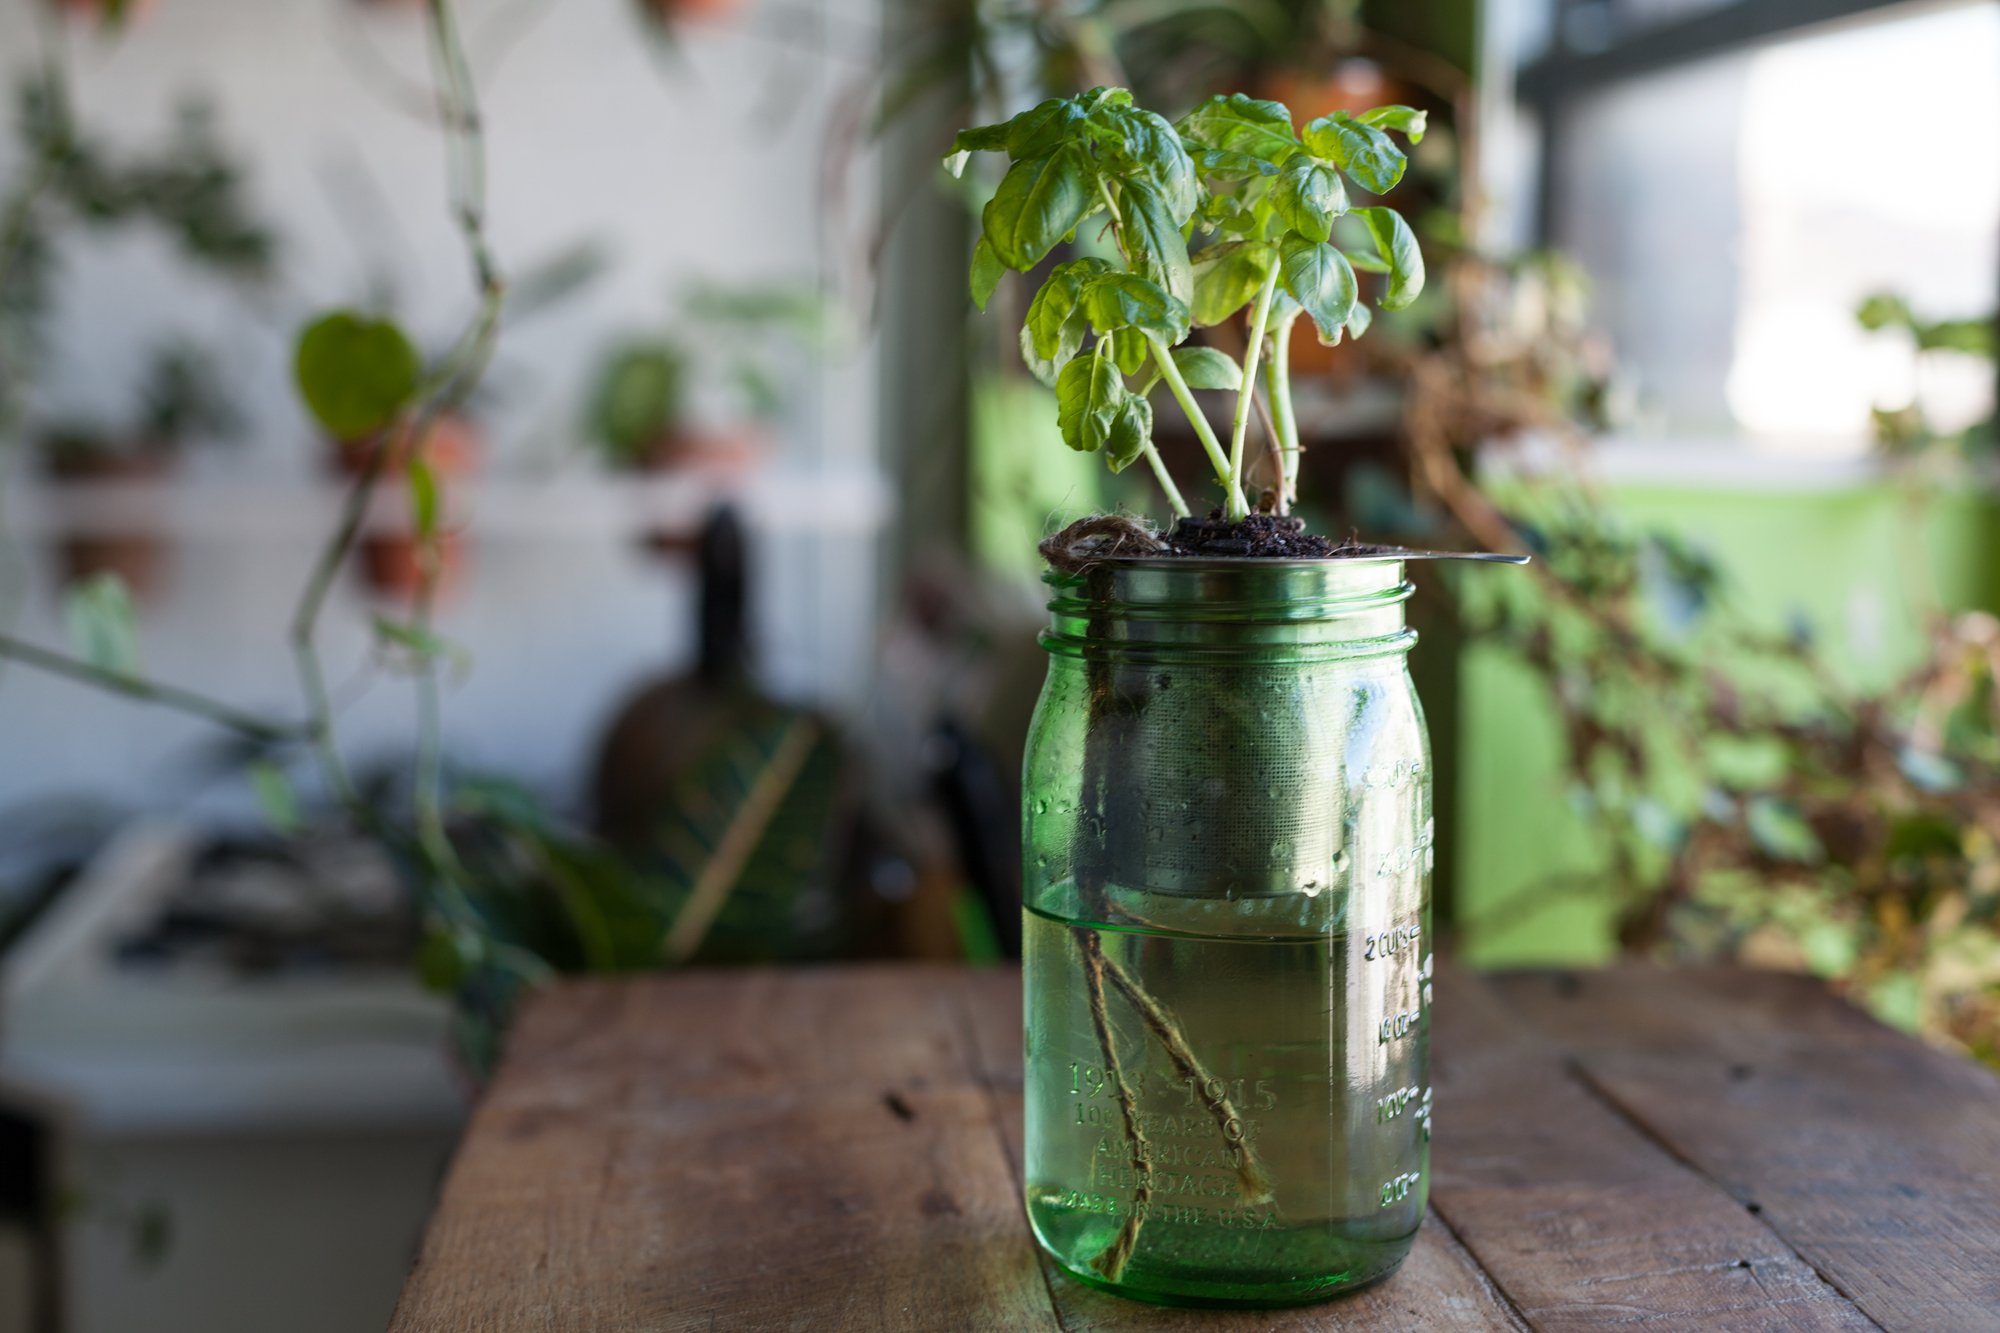
It doesn't matter if you're forgetful when it comes to watering your plants, if you travel quite a bit, or if you just want to be more efficient—do-it-yourself (DIY) self-watering planters are smart and best of all, cost next-to-nothing.
Last year I walked into one of my local plant shops and saw a snazzy self-watering planter. Everything about it looked great, except for the price tag—$44.99! Ouch. Instead of shelling out some coin, I went home and made my own DIY self-watering container. The best part about it: It took less than 5 minutes and cost me zero bucks because I had all the materials handy in my home. Of course, if you don't have a Mason jar, piece of thin rope, tea strainer, some soil and a plant handy, then you'll likely pay around $10 for everything—still far cheaper than the self-watering container I first spied in the store.
The "self-watering" part of this happens through a force called capillary action, which happens through both cohesive and adhesive forces that make the rope act like a wick. If you've ever painted with watercolors, and the watery paint moves up the bristles of your brush, it's really the same principle. The plant draws up the water as it begins to dry out from evapotranspiration, and the soil and the plant's roots will remain moist, so as long as there is water in the jar. 🌿
Tools
- 1 wide-mouthed Mason jar
- 1 tea strainer (that sits in the Mason jar)
- 24" (61 cm) piece of thin rope
- 1 cup of potting soil
- small herb of choice
Directions
- Fold the rope in half and stick into tea container, letting the ends dangle over the edge.
- Plant your herb of choice (I chose basil) into the tea canister, making sure the rope stays down in the soil.
- Pour some water into the Mason jar at about the 2 cup mark. Place the tea canister into the Mason jar, making sure that the ends of the string hang into the water. The water will go up into the soil through capillary action.
- Be sure to give your herb lots of sunlight, preferably in a south-facing window.

