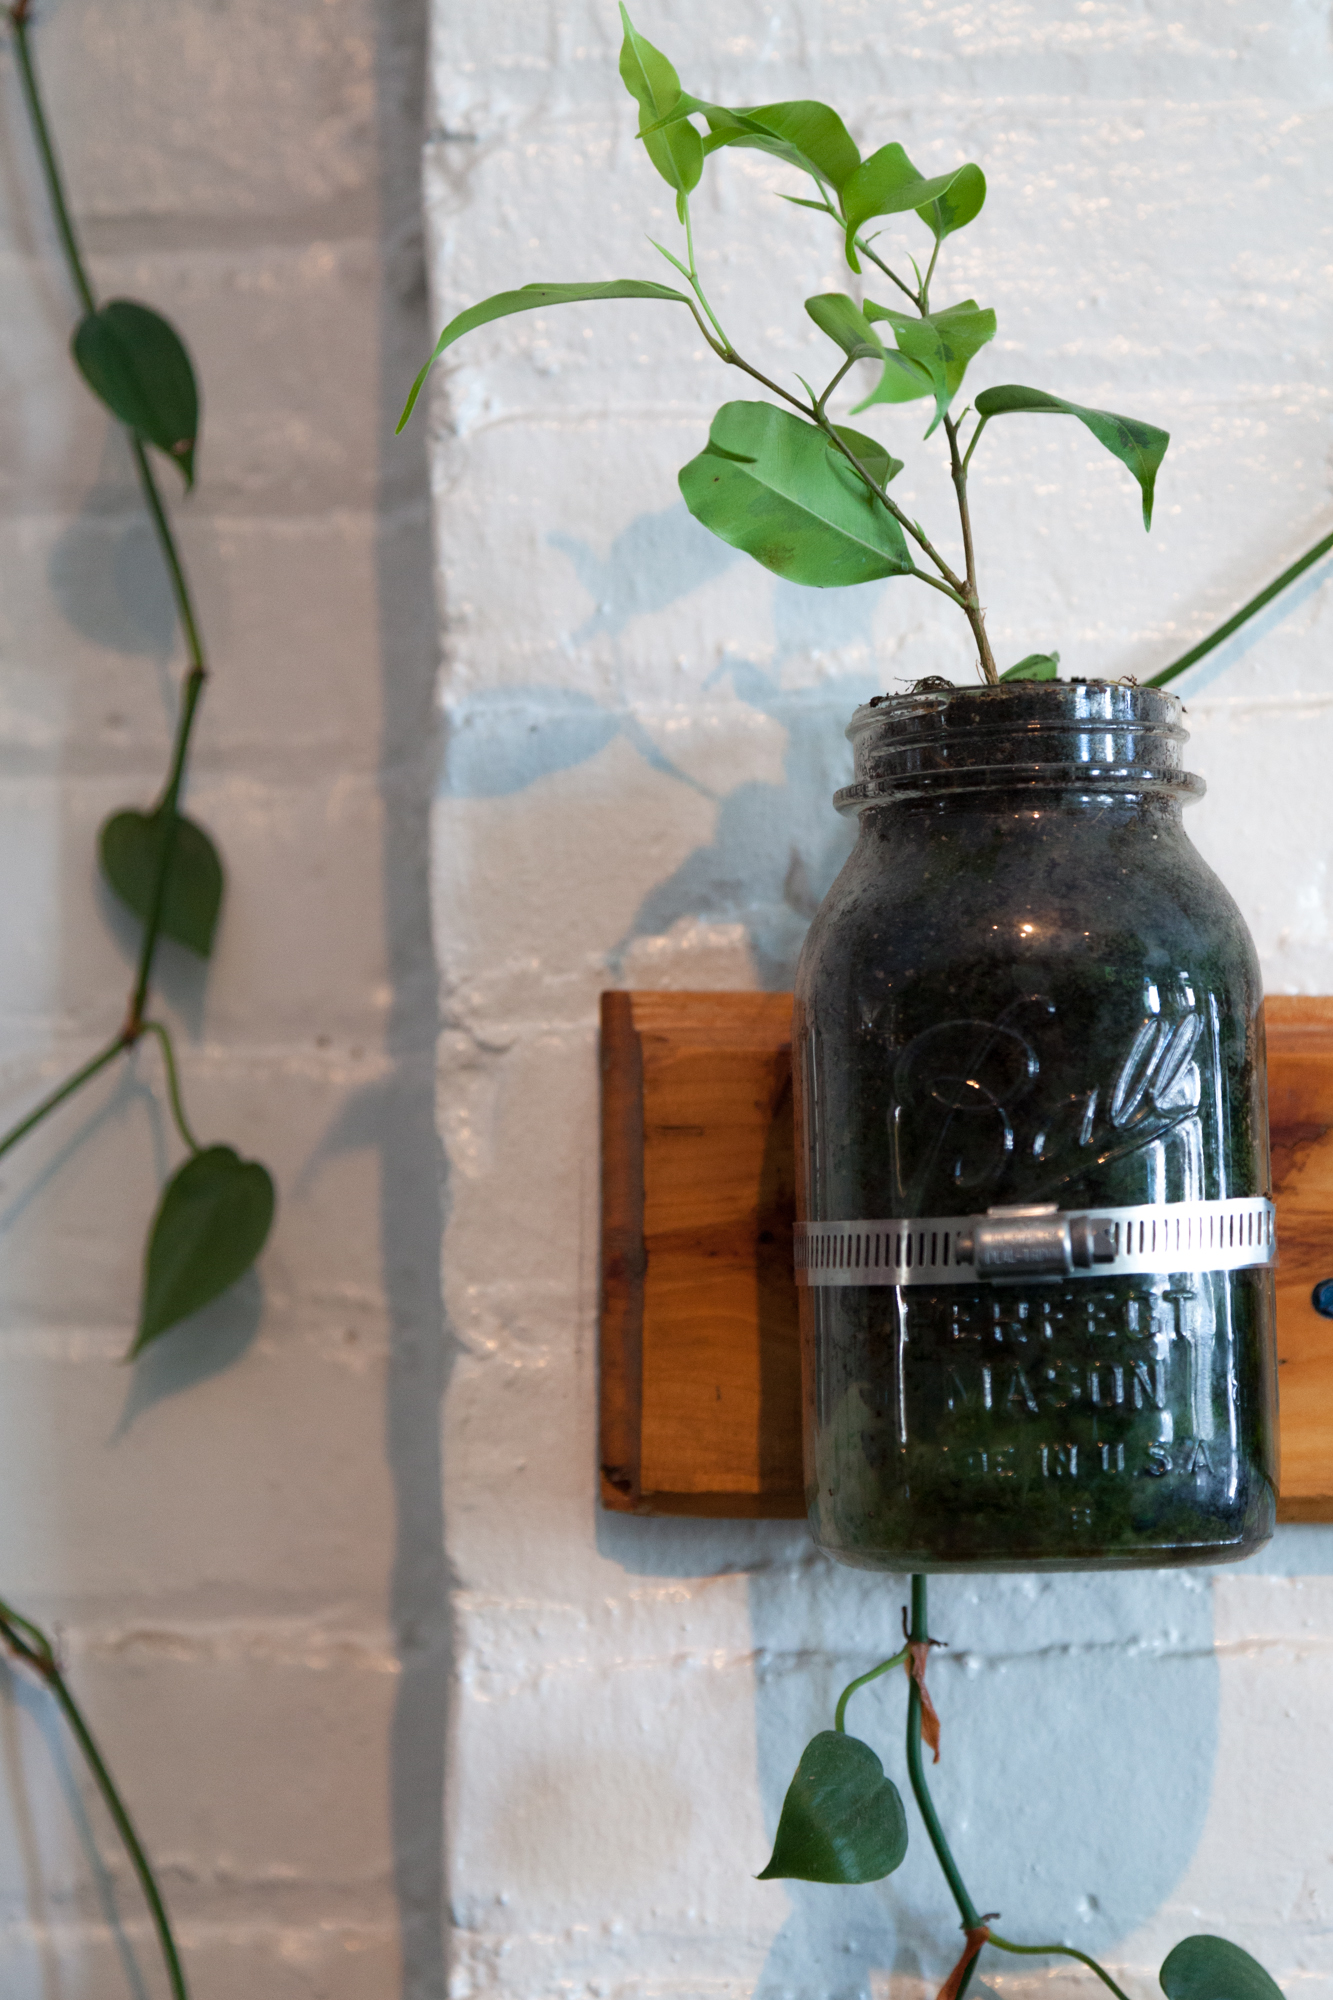
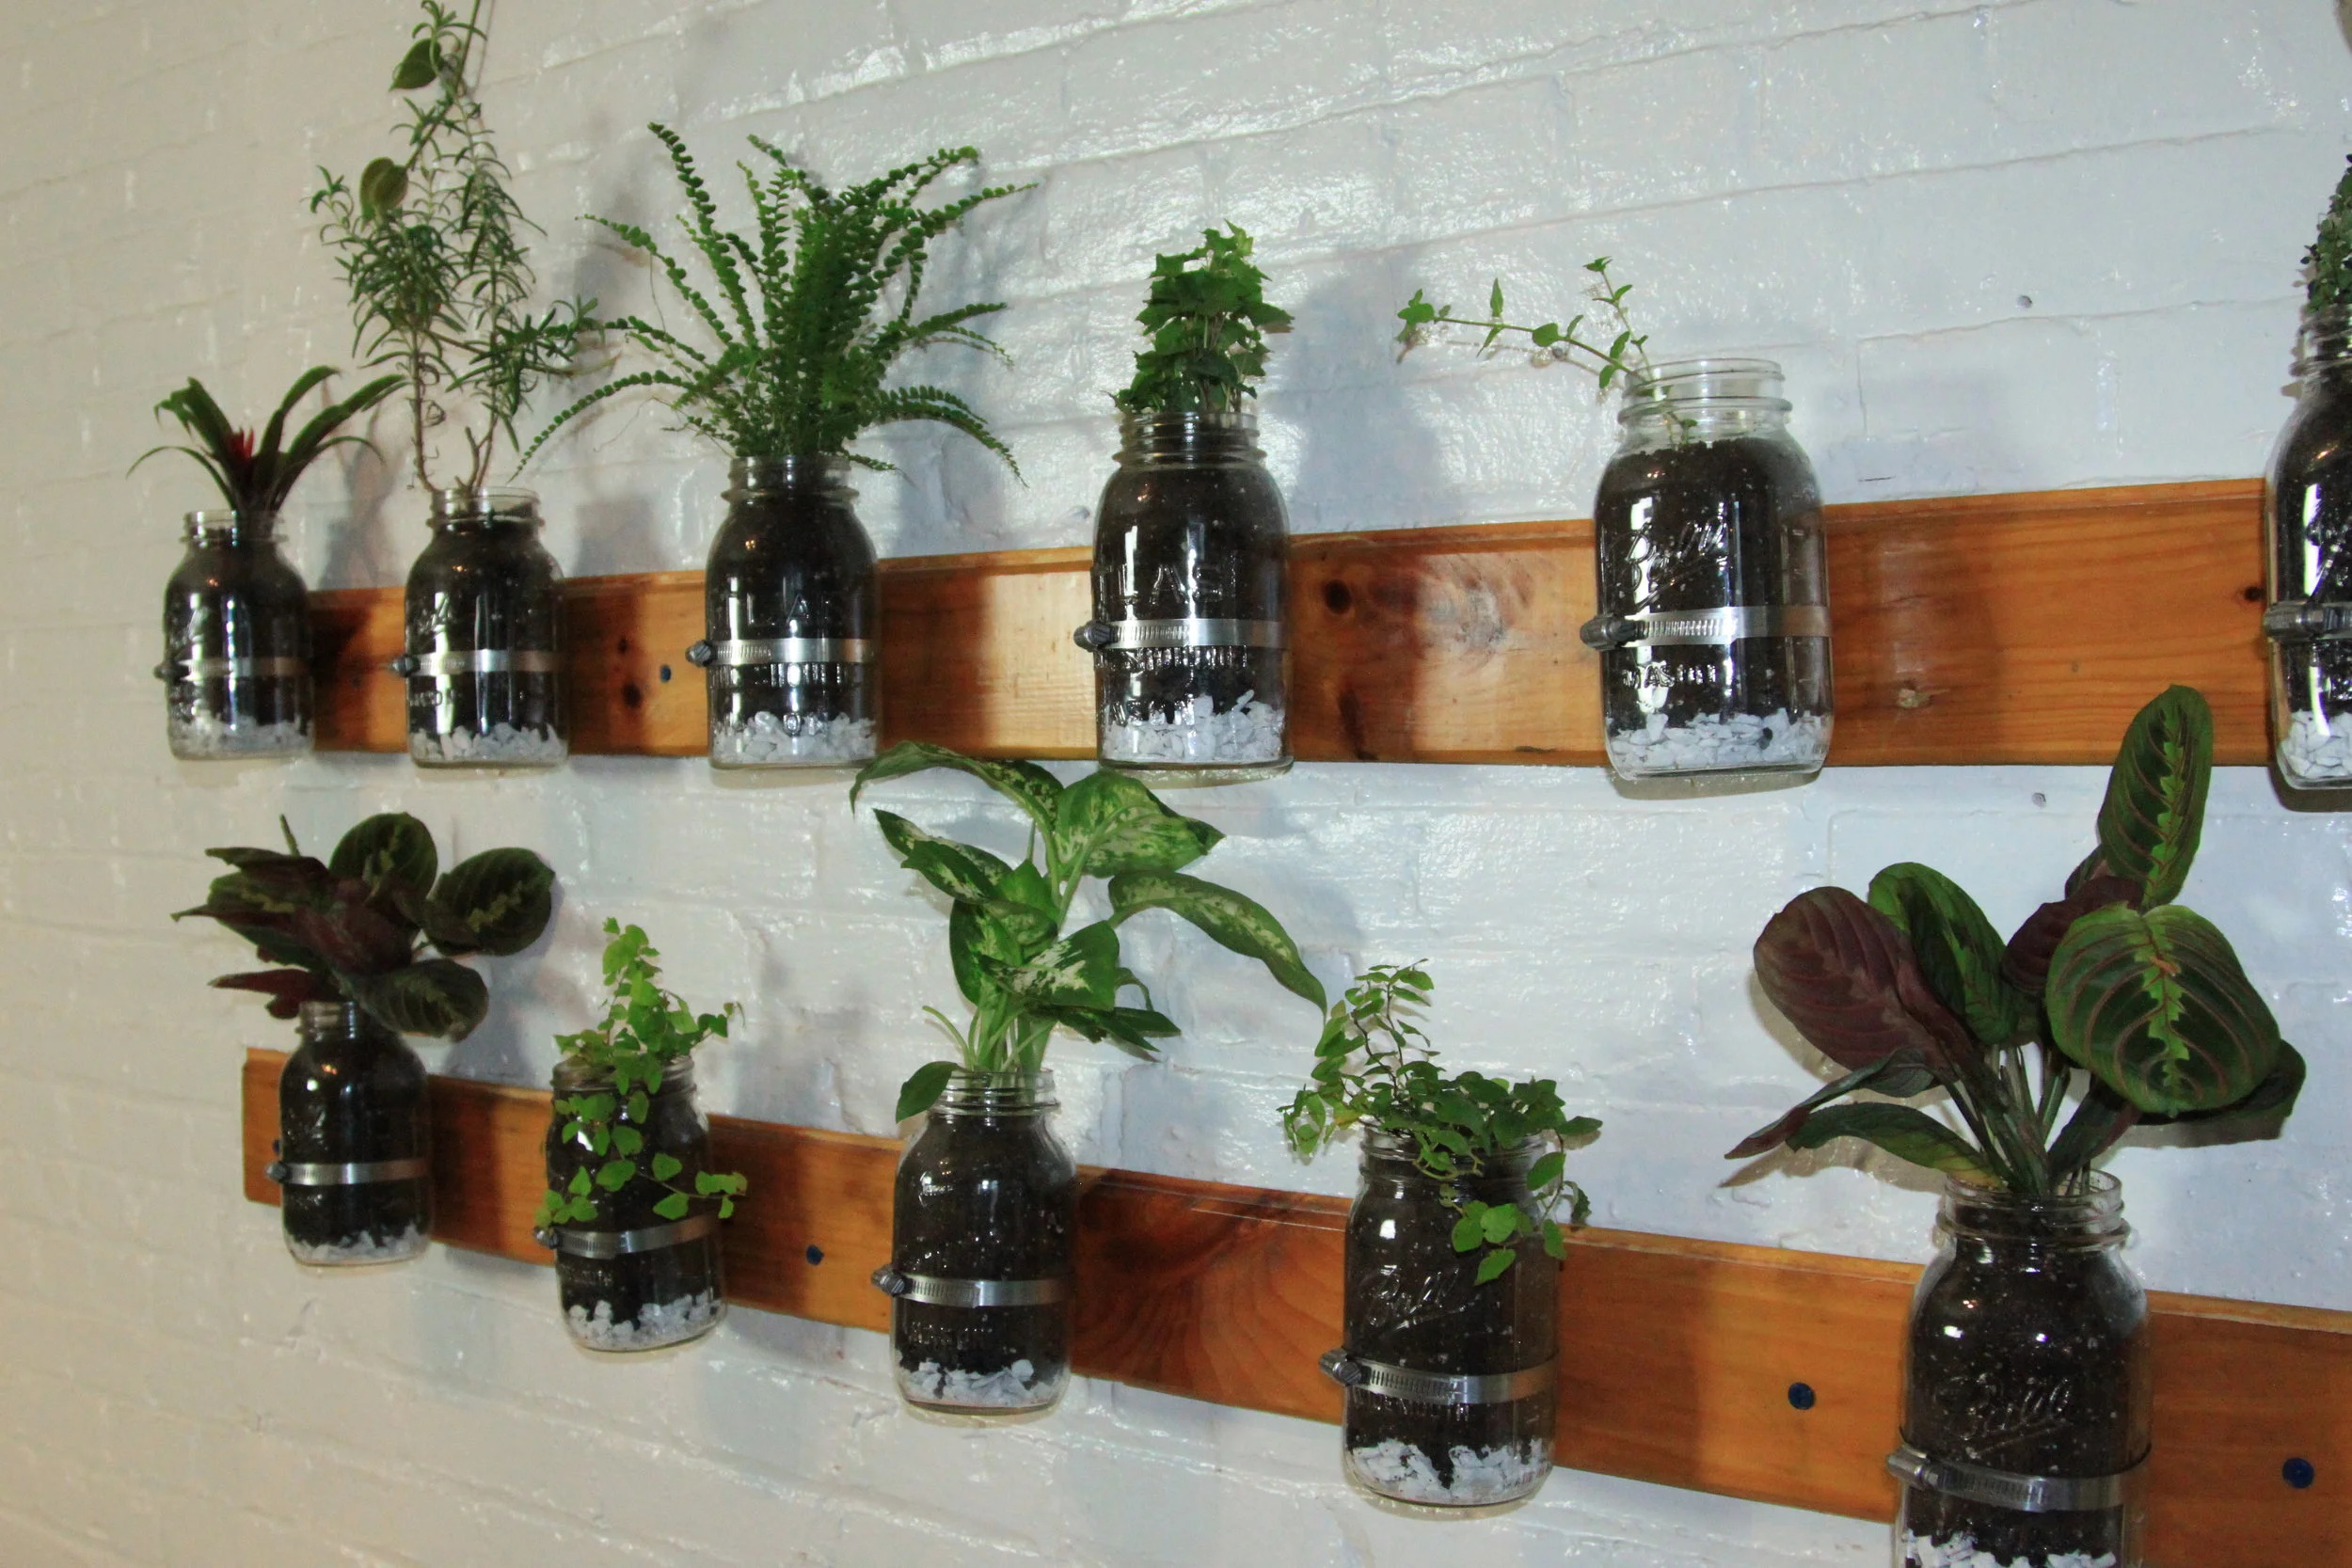
The Mason Jar Garden holds a special place in my heart because it was the first DIY "living art" project that I got to do with my father. Since that time, we've done over a half dozen other DIY projects, and there's no sign of us stopping!
The project really got its start and inspiration from a challenge from my father. My dad, a prolific gardener, gave me a hard time for not having any edibles on the vertical garden that I had previously installed in my bedroom. Naturally, I asked him if he would be down for building one with me in the kitchen.
Much to my surprise, he was up for the task, so we embarked on designing a mason jar garden. Now ultimately I should say that there wasn't enough natural light for herbs over the longterm, so I moved the herbs into other areas of the home and even created some cool DIY herb projects with my father after this project. I particularly wanted a "living art" piece for this part of my kitchen wall because it was quite bare, and it's the first thing you see as you walk into my door.
The key with mason jars (since they don’t have natural drainage) is to include stones on the bottom to help create “drainage” on the inside of the jar. The charcoal will serve to help ward off any bacterial build-up near the plant roots. Additionally, after about three years, I decided to compost the old soil and replace it with new soil. Plant soil can often use a little refresh, so all you'll need to do is loosen up the hose clamps, remove the mason jars, and clean out the contents and put in new stones, charcoal and soil.
This was the very first DIY plant project that my dad and I embarked on, which was a tremendous amount of fun. I never got enough light in this area for herbs over the long-term, unfortunately, so I moved to only medium- to lower-light tolerant plants. Plus the plants outgrow their mason jar homes pretty quickly, so this creation does require some plant switches from time-to-time!
Tools
You’ll need 10 key items in order to create your mason jar herb garden:
- wooden boards
- wall adhesive
- Tapcon® screws
- hose clamps
- cable staples
- wide-mouth mason jars
- potting soil
- activated horticultural charcoal
- stones
- plants
Directions
- Find a piece of reclaimed wood to serve as the base or plaque for the wall. My father had some old planks in the basement, which we didn’t even have to cut. They were the perfect size and length.
- Place the hose clamps on the wooden board. You can eyeball where they might go at first before measuring so that you can get a sense of how many hose clamps and mason jars you may need.
- Place the wooden board on the wall so you can get a sense of where you would like to position it. Note: If you're growing herbs, you'll want to keep the herb garden in close proximity to a window, because plants like rosemary and sage like a lot of light. If you place the boards in indirect light, you probably should grow other species of plants — like ferns and creeping figs, for example.
- After the wooden boards are in place, use a wall adhesive to secure boards. This is just the preliminary step to make sure the board is secure, seeing that it is going to hold weight on a vertical surface.
- Use Tapcon® screws to secure boards. This is the secondary step to secure the boards. Depending on wall surface, you may be able to use different screws. I installed mine on an old brick wall, so we found the Tapcon® screws worked the best.
- Measure where the center of the hose clamps should be on board and secure them into place with 3’4” cable staple. The cable staple can be easily hammered into place.
- Place 1” of stones in bottom of mason jars. Since mason jars don’t have any drainage, the stones will serve as interior “drainage holes” at the bottom.
- After stones are in place, add ½” of charcoal to the bottom of the mason jars. Charcoal balances the pH in soil, assists with drainage, and also prevents bacteria buildup in the soil due to overwatering. The bacteria can hurt the plant roots and cause disease or death in plants.
- Add soil and plants to each mason jar. This is the fun part! The best part of mason jars is that they make great planters, and they're clear, so you can see when plant roots need watering.
- Arrange plants how you want them on the wall and secure them in the hose clamps. Make sure the clamps are tight — not loose! — around the jars.
- Voila! Your mason jar garden is complete. In order to see my own wall come together, you can watch the video above.


